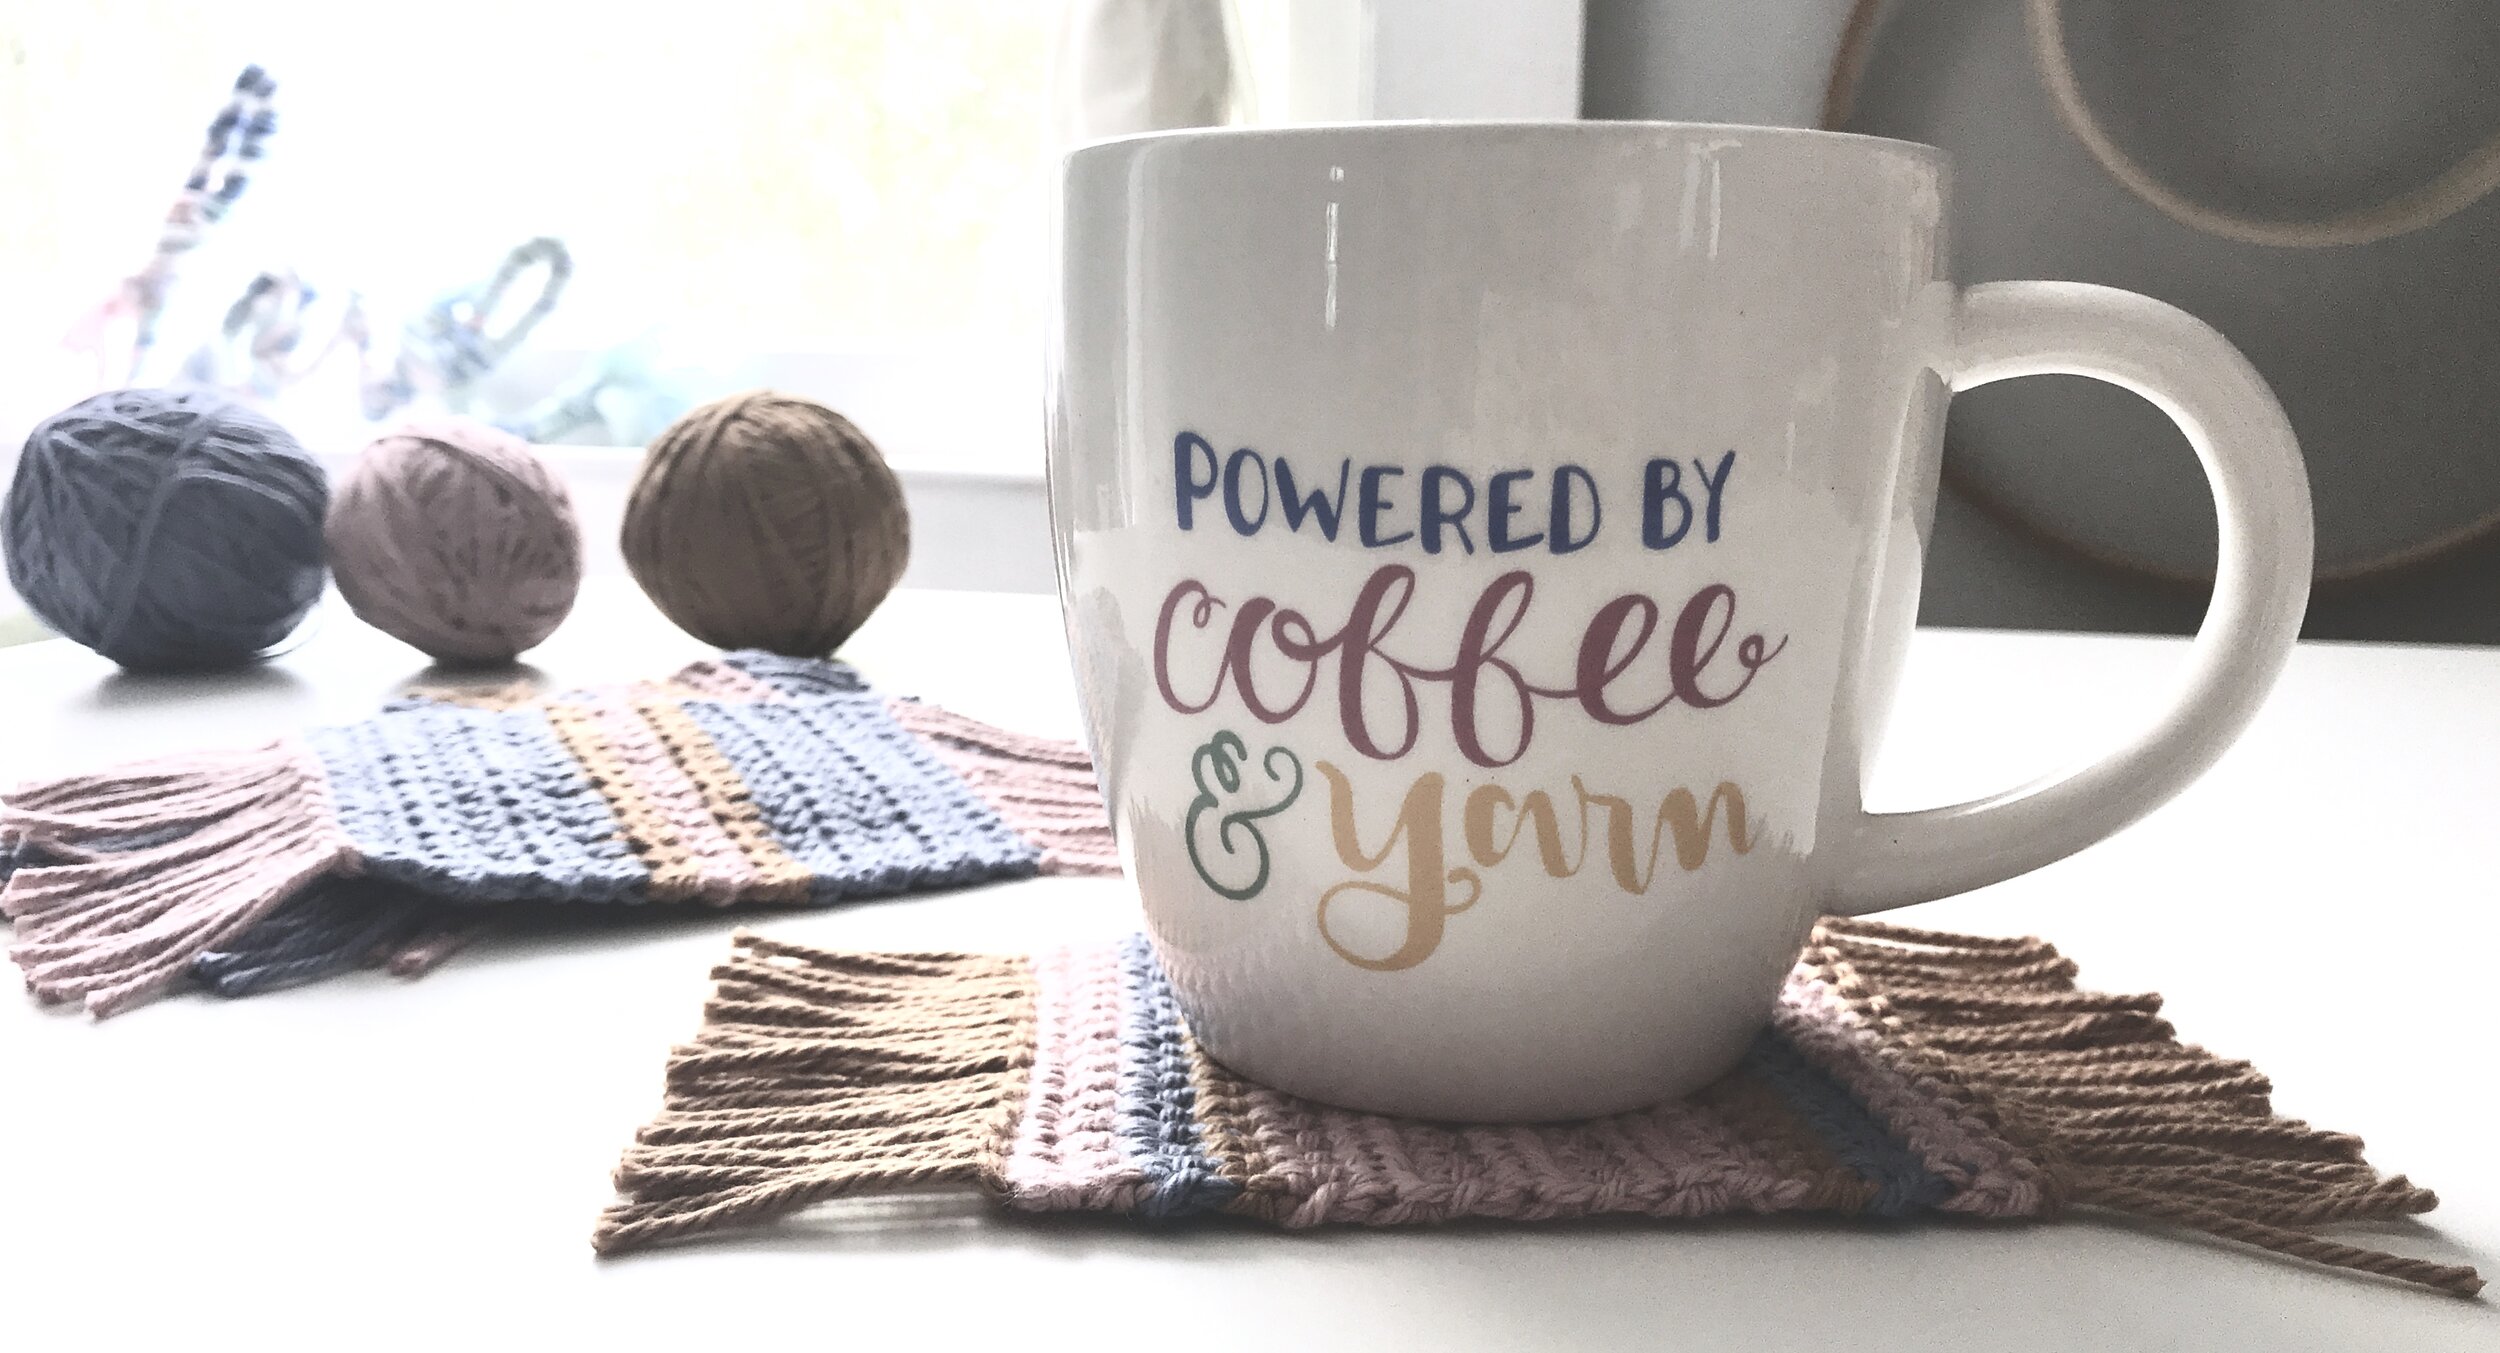
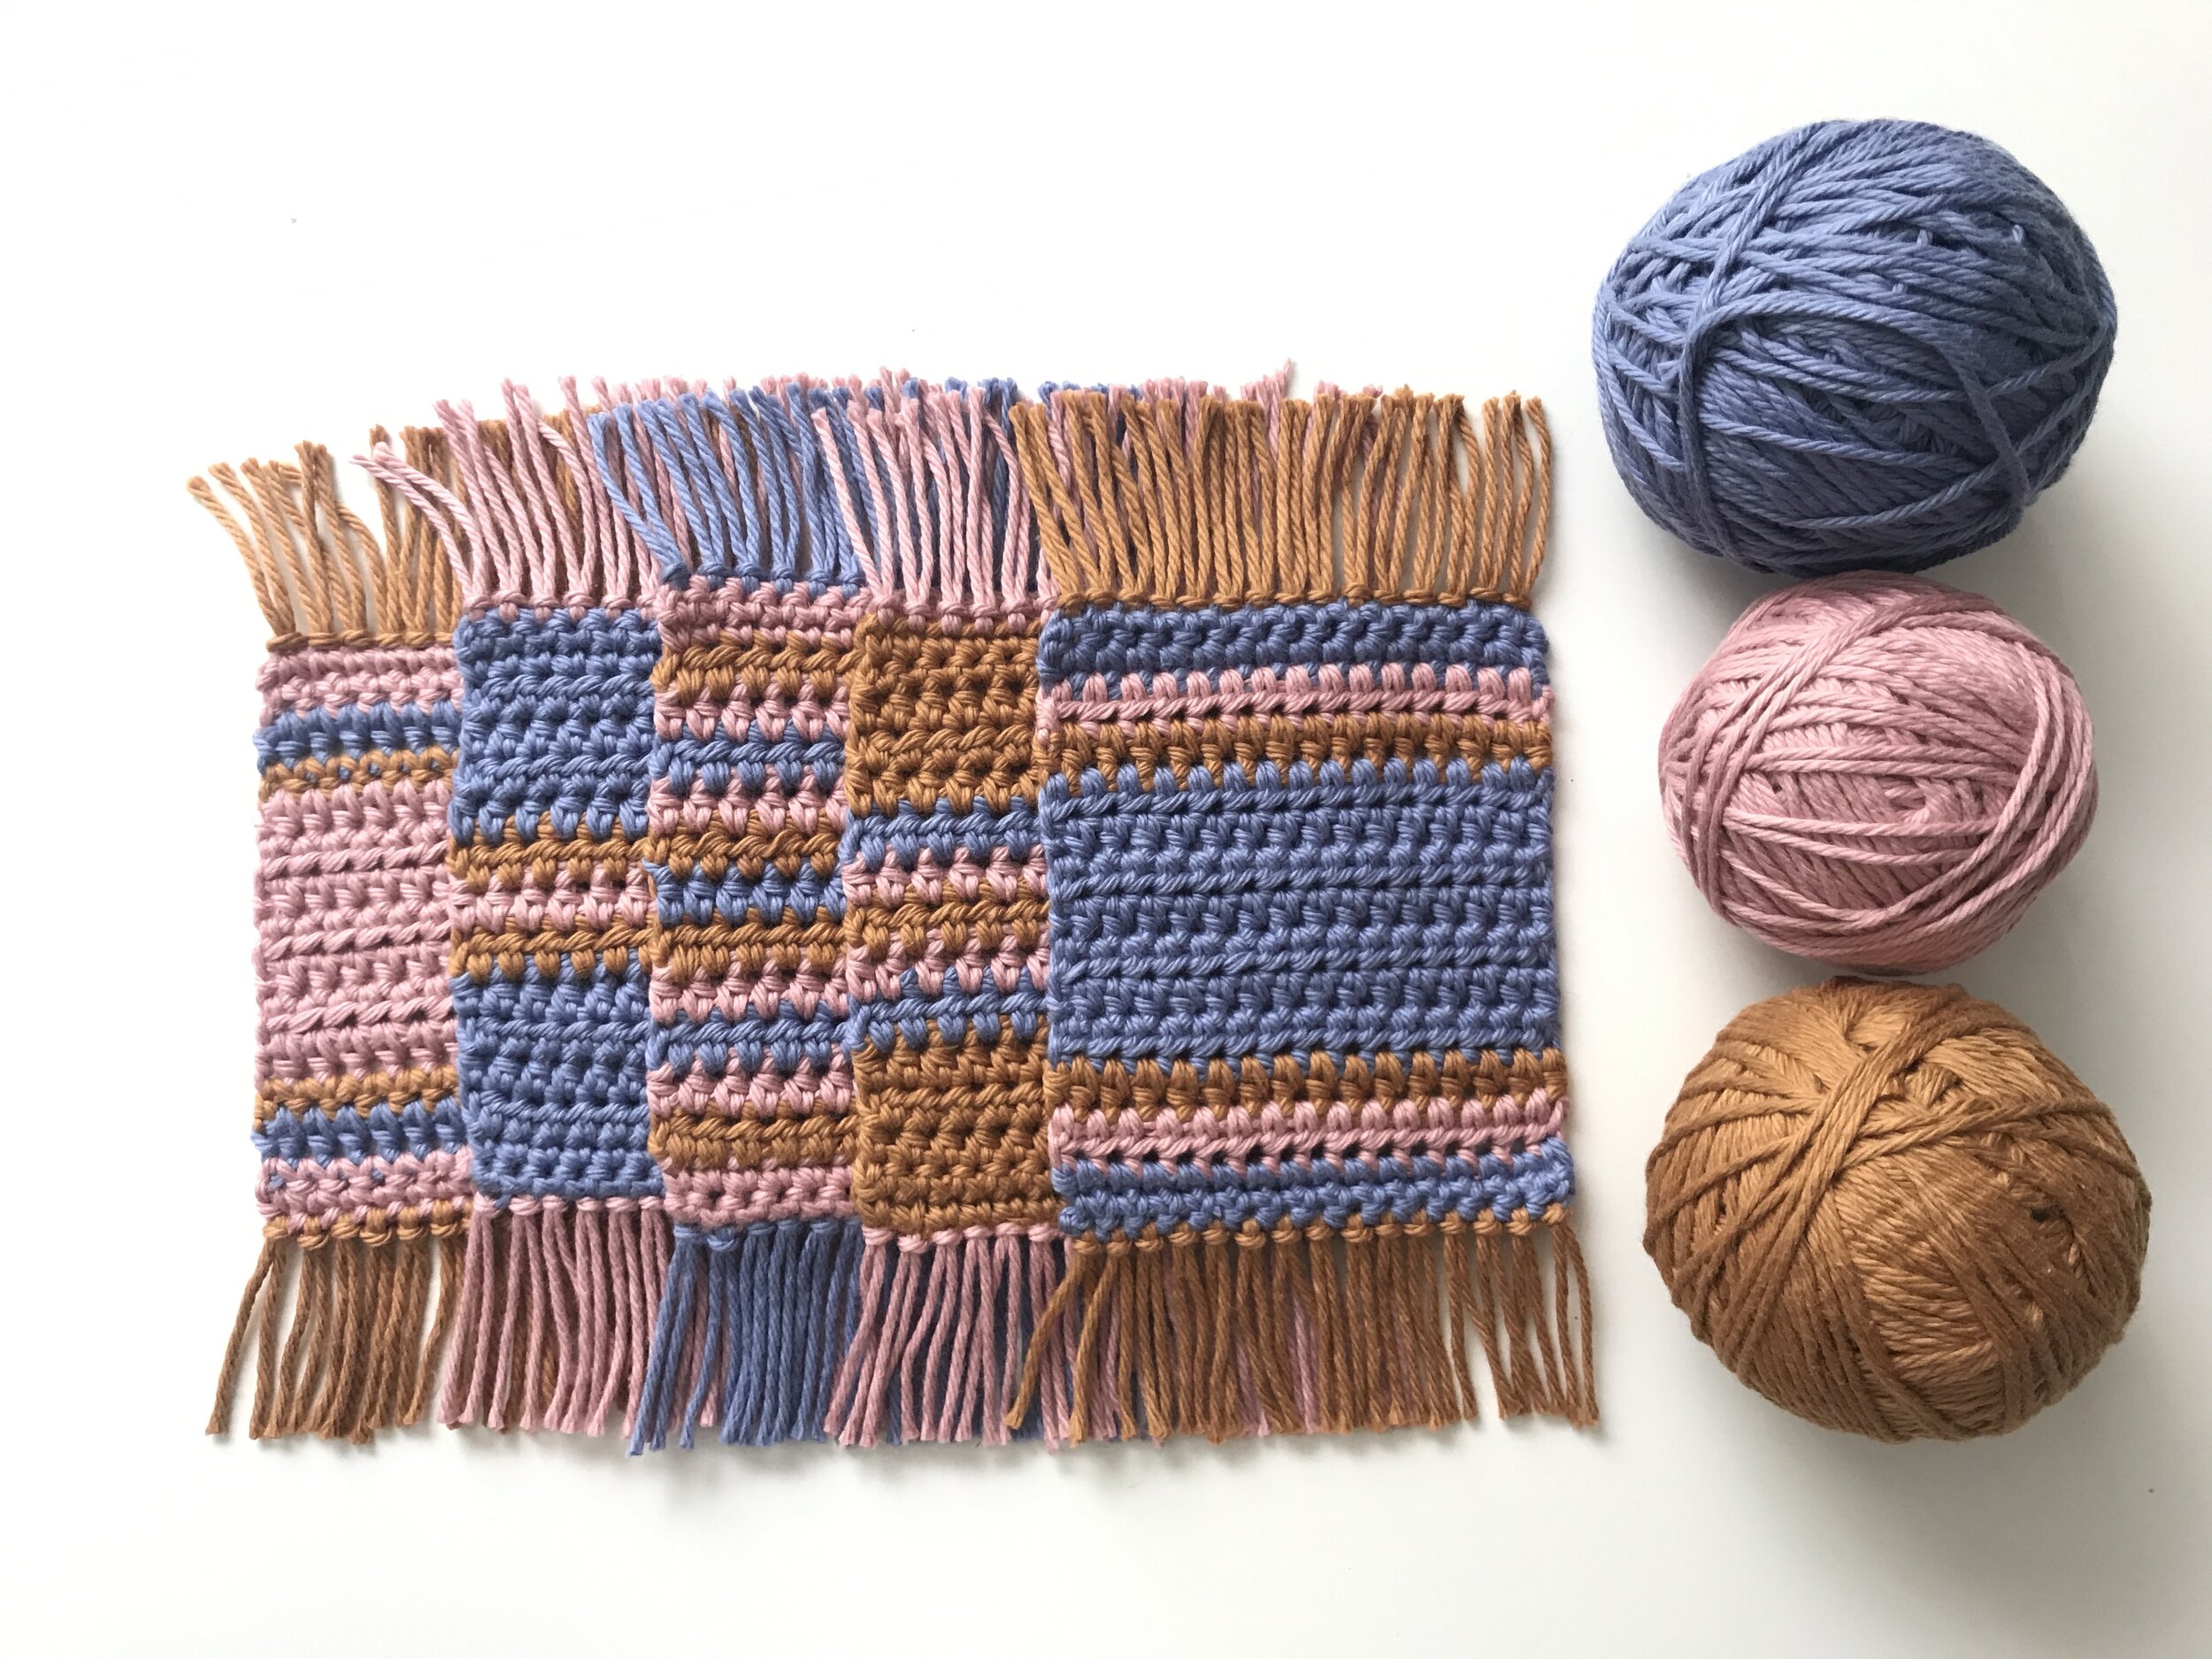
Fringed Mini Rug Coasters
Hello friends, and happy Autumn!! Yesterday was officially the first day of Autumn and I could not be more thrilled! It might just be my excitement, or perhaps it’s a mere coincidence in the weather, but the air feels different, the sky seems a brighter blue, and I swear the leaves have started changing overnight.
The end of the summer marks the perfect time to break out those crochet projects, whether you are starting to get those holiday gifts ready, or you just need a cozy blanket project to keep you warm on those chilly evenings. This super simple weekend project is the perfect quick thrill to get you back in the swing of crochet! New to crochet?? YAY! I am so happy you are here to learn along with us. I have included some easy to follow video instructions on the most basic elements of crochet to help jump-start you on a life long journey of fiber love.
Let’s get started by going over some super basic info for you beginners, or for those of you who are feeling a bit rusty. There are many different ways to approach crocheting, it all depends on what feels the most comfortable in your hand. There are plenty of people who will tell you you are doing it wrong if you don’t do it the standard way, but that’s silly! If you are making the same stitches and achieving the same results, who’s to say you are wrong?? For me, my dominant hand is my right, so I hold my hook with my right hand and control the tension of the yarn with my left. You mess around and see what fits best for your body.
Most crochet patterns will be written as rows or rounds. When I first learned to crochet, I started in the round because I tend to jump right into things and go full steam ahead, and all I really wanted to do was make amigurumi. If that sounds like you too, go for it!! Dive right in head first, I encourage that! YES! (head on over and check out our bralette pattern tutorial) However, I do think beginning with rows is easier, so this pattern is written up in rows, where you will stitch from one side of the project to the other. When you finish that row, you make a chain, turn the project, and stitch back across to the other side. This is how you would create most blanket projects, sweaters, etc.
The very first thing you need to know when working in rows is how to do a slip knot to loop your hook onto your yarn, and then create a “foundation chain”. You may also see this in patterns written as “starting chain” or “base chain”. Your foundation chain can often include an extra chain or two at the end which will count as your turning chains. As I mentioned before, when you come to the end of a row, you will turn your project and begin another row on top of the previously stitched row. A turning chain (or more) is required to give you the right amount of height for starting that new row of stitches. Here are a couple of videos to follow along with to help you get started.
Once you have your foundation chain created, you will turn your project and begin your first row. Many patterns include the foundation chain in the first row’s instructions, (that is how I usually write my patterns), but some will count that as the pattern’s first row. Just pay attention to the different patterns and stay flexible. Some of the most basic crochet stitches are the single crochet (abbreviated SC) and the half double crochet (abbreviated HDC). This coaster pattern uses these two stitches to help you become well acquainted. Here are some videos to help you get started.
Fringed Mini Rug Coasters
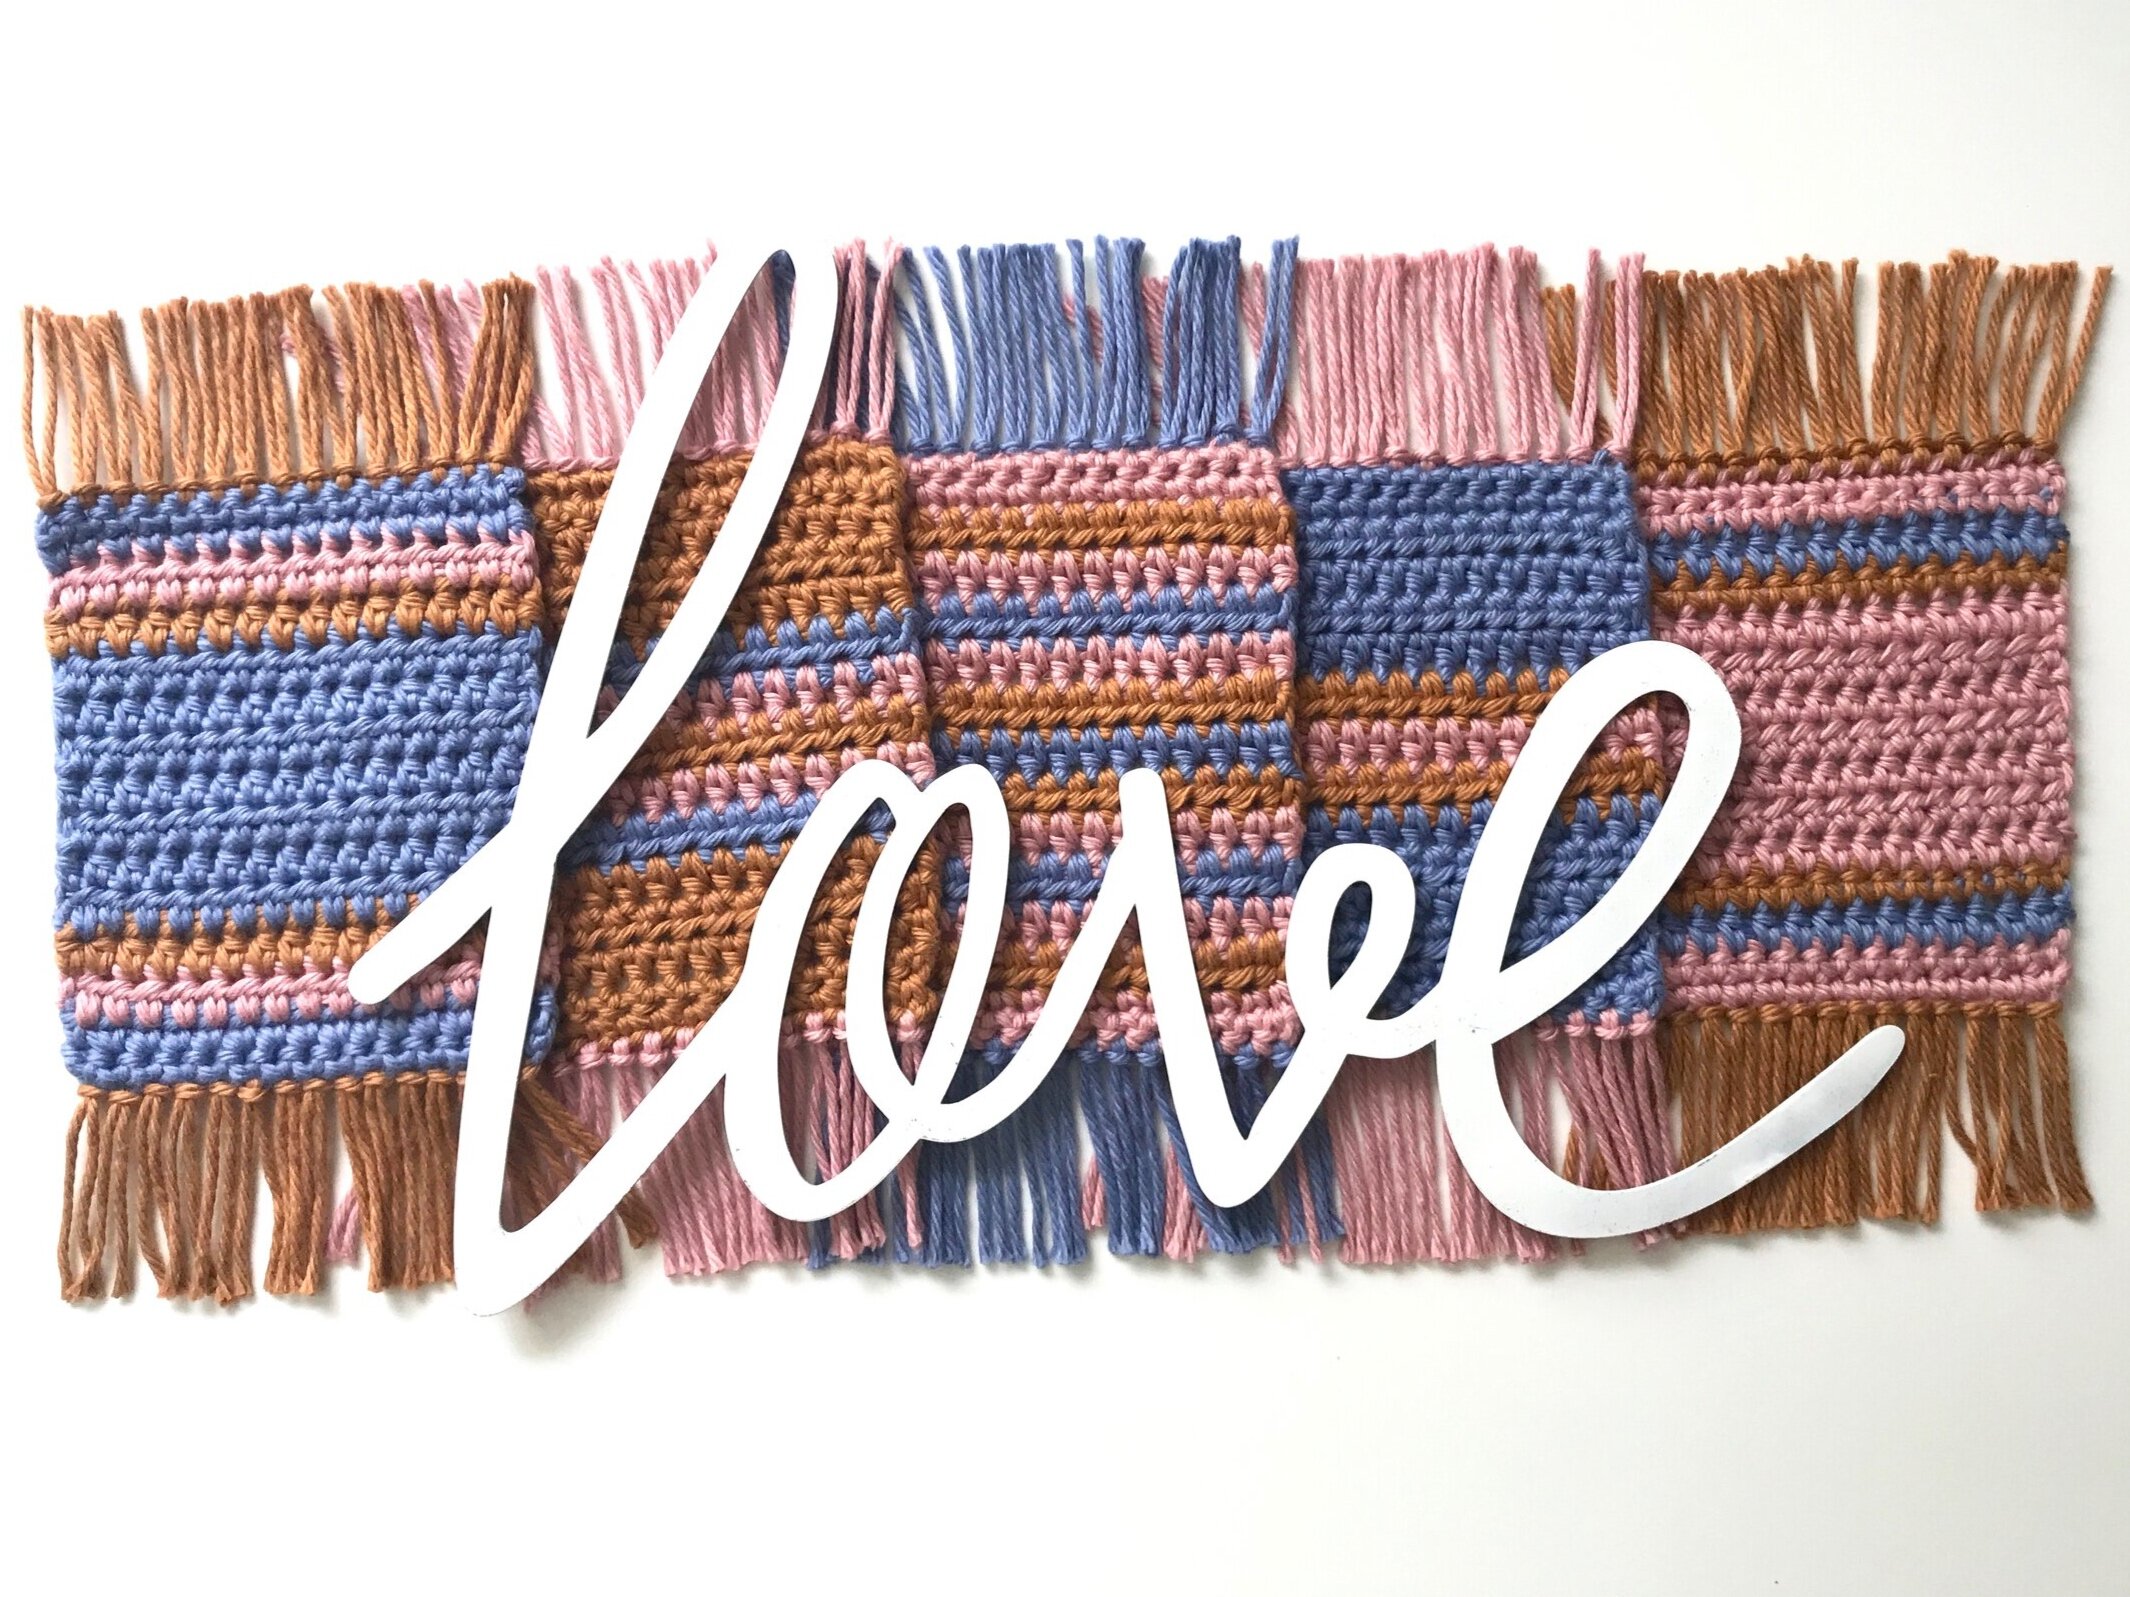
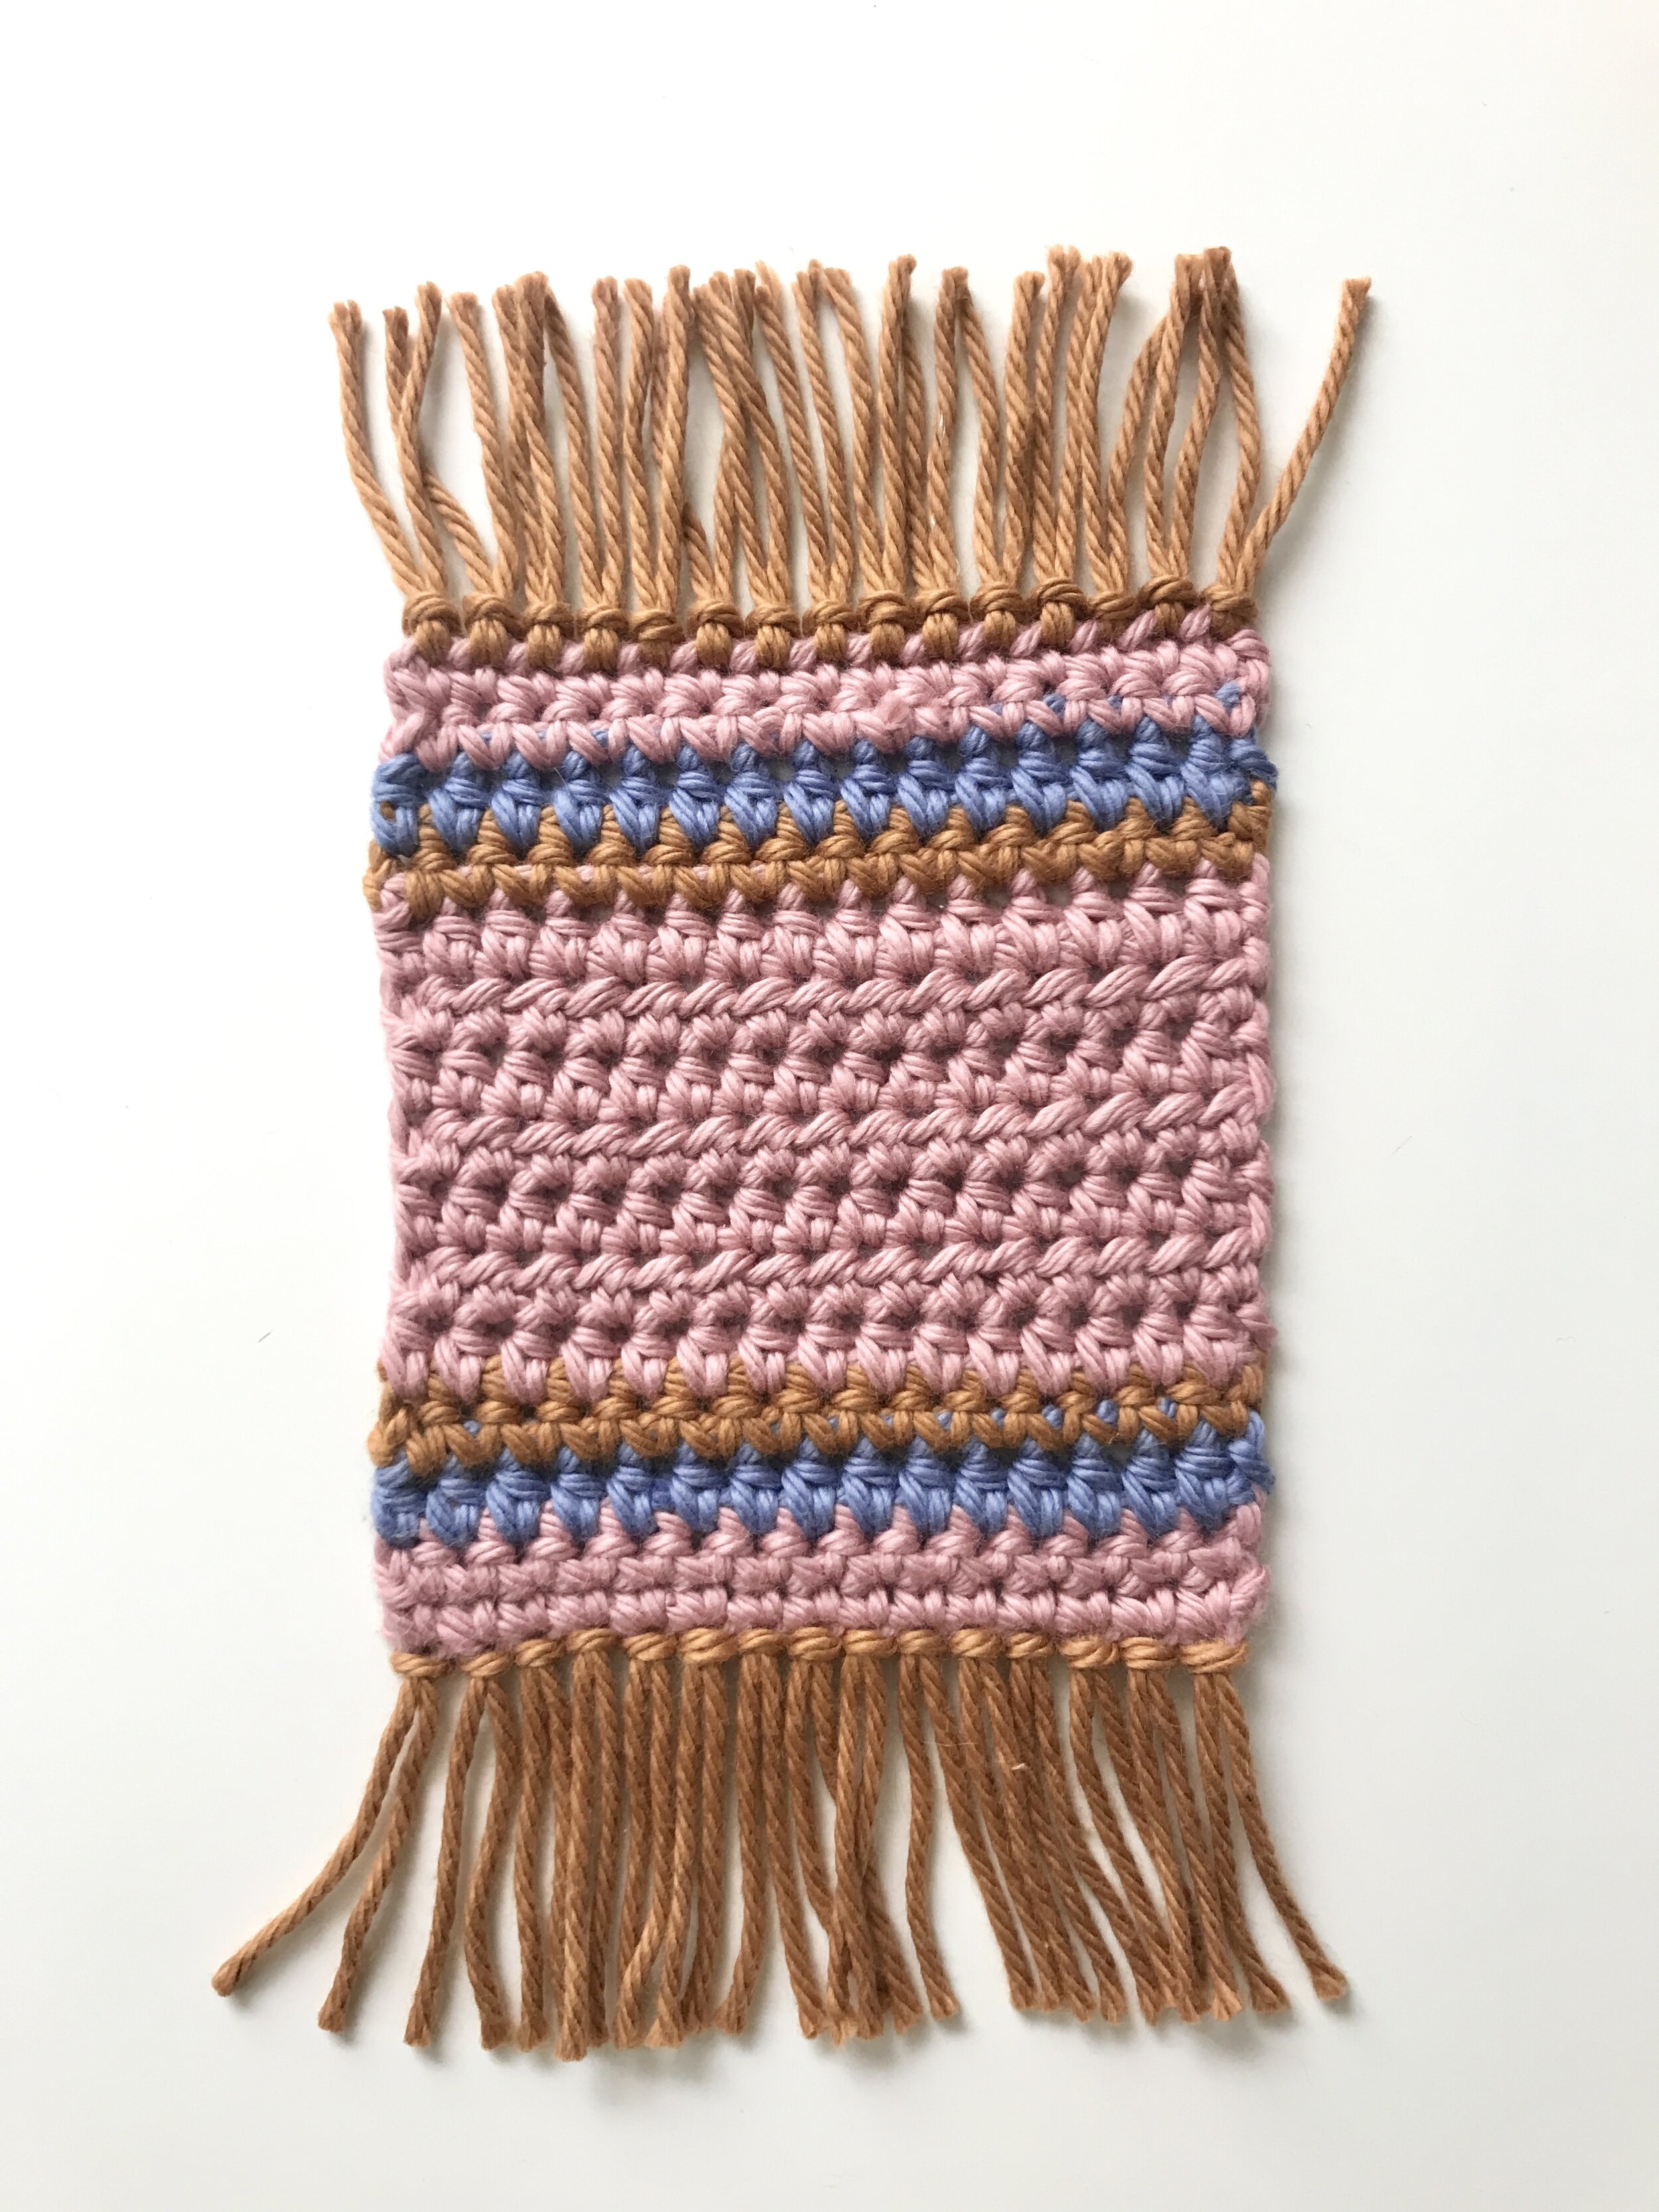
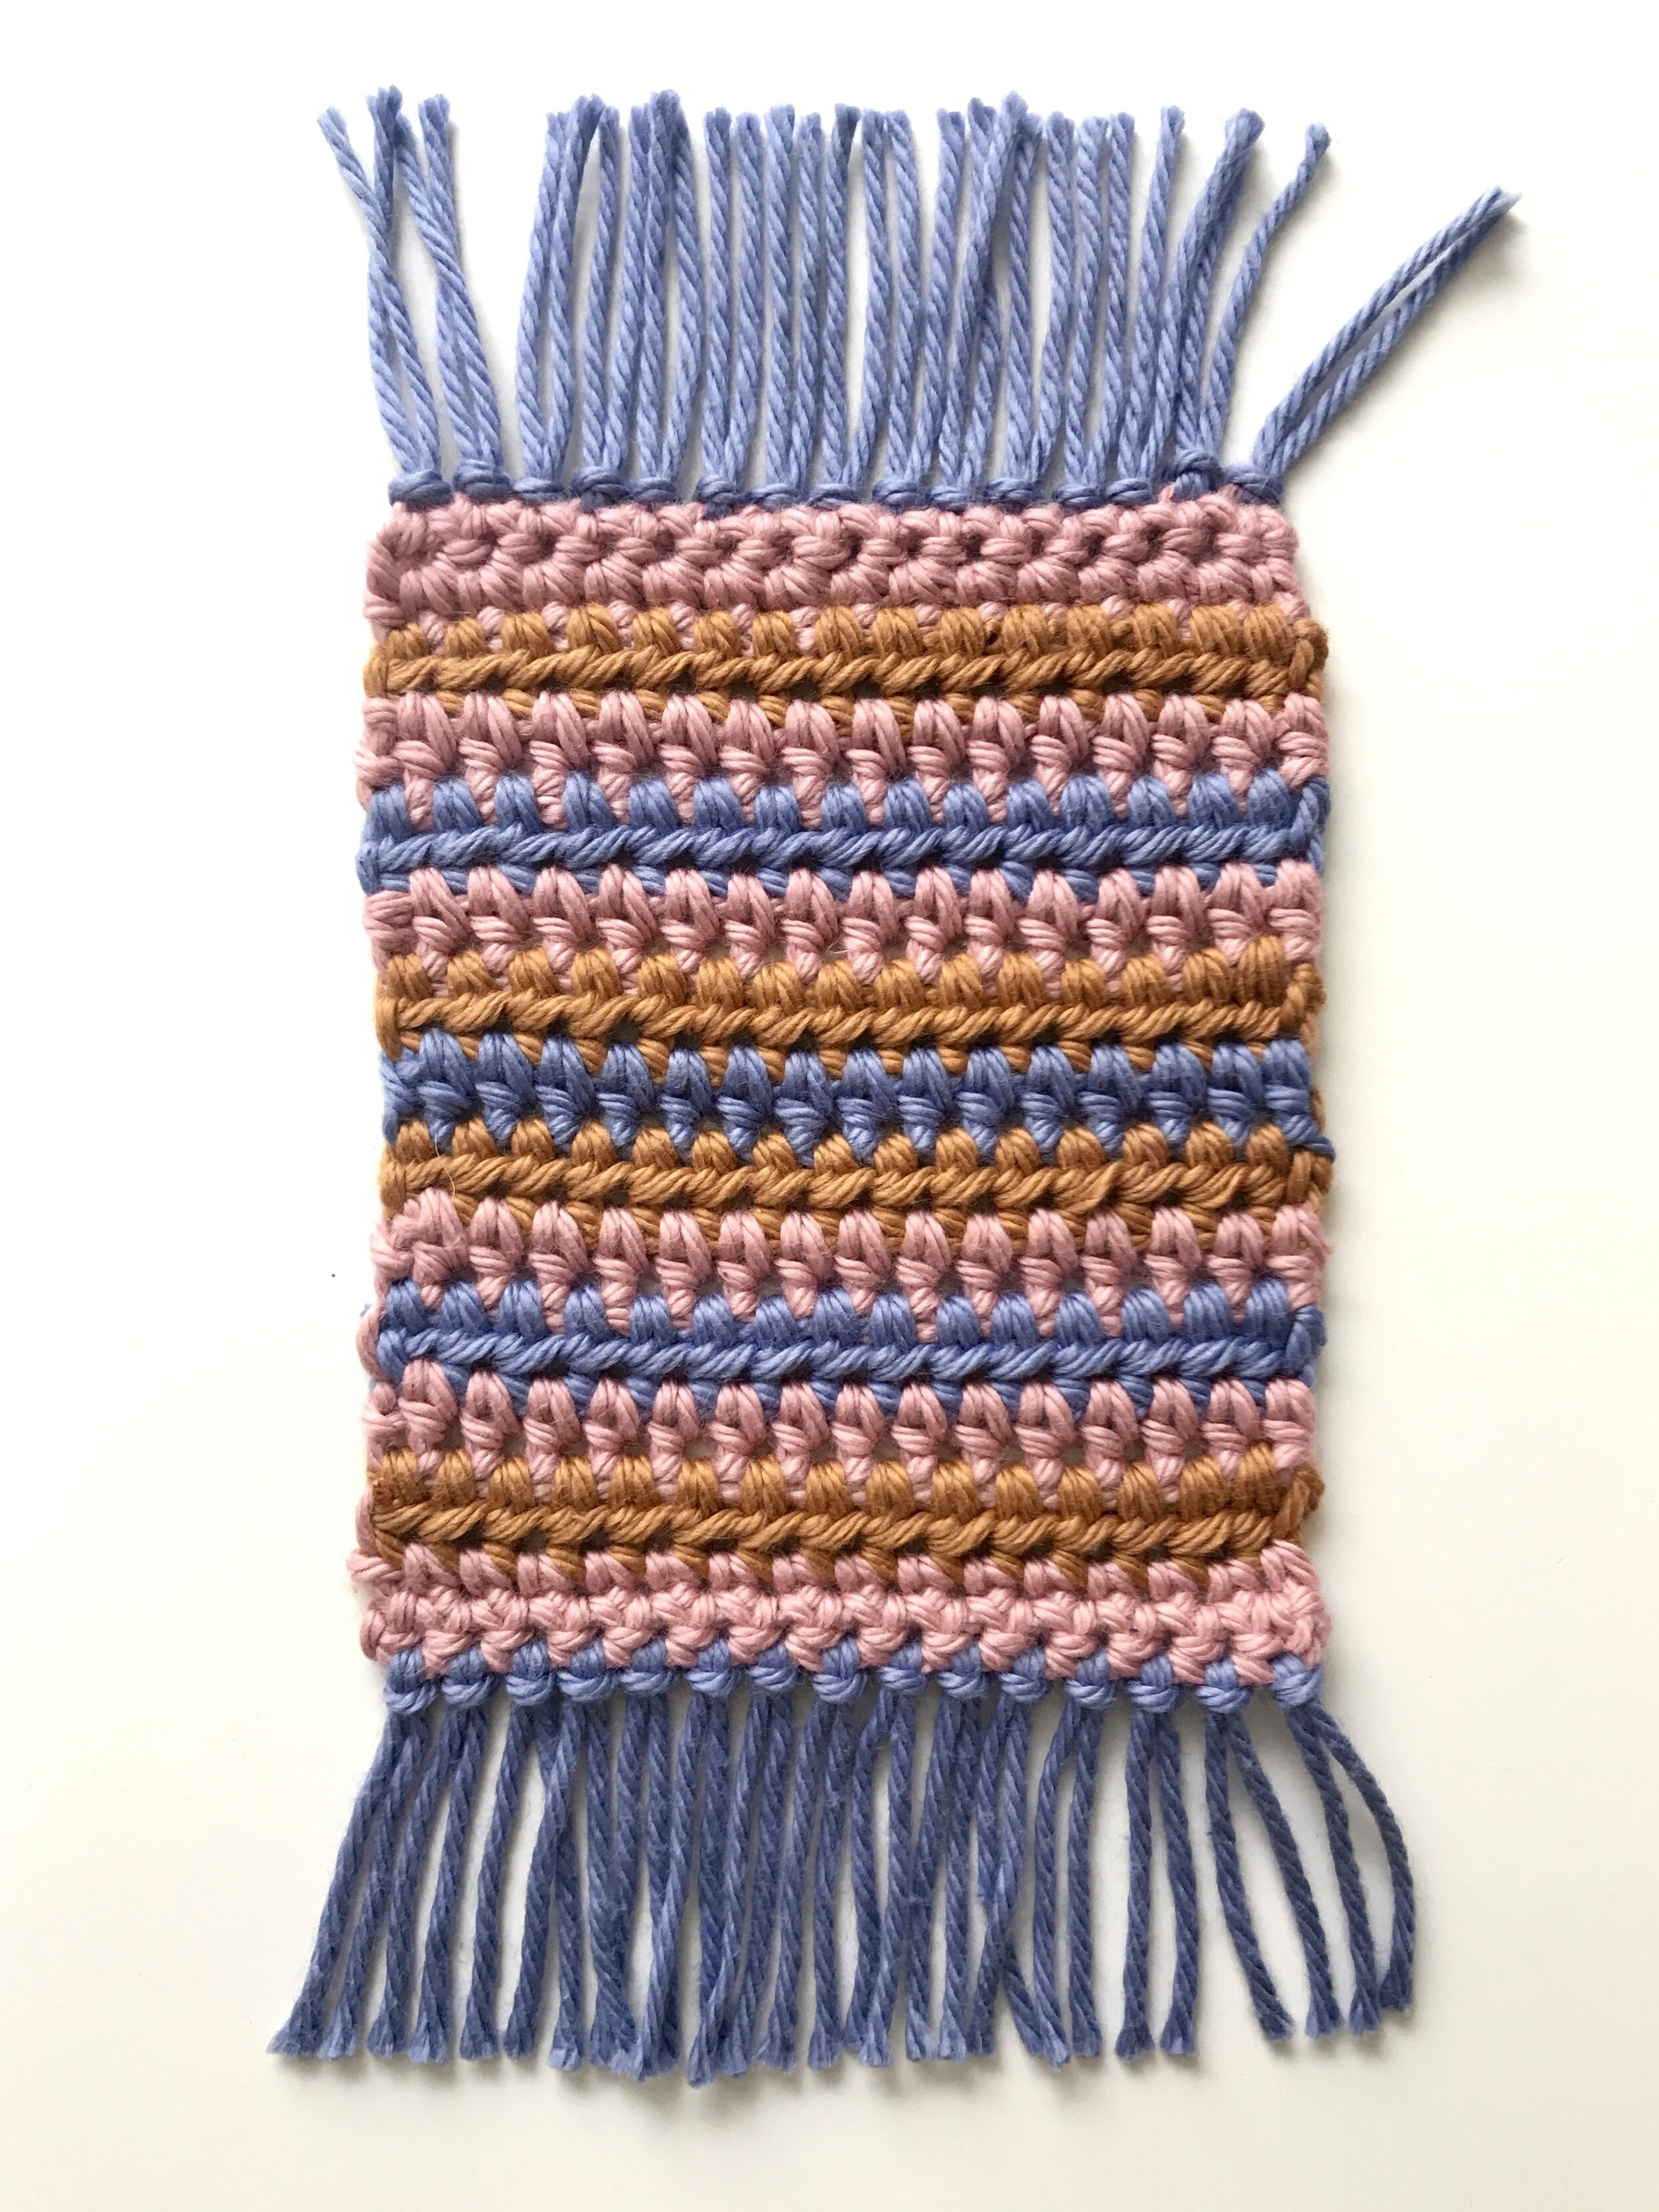
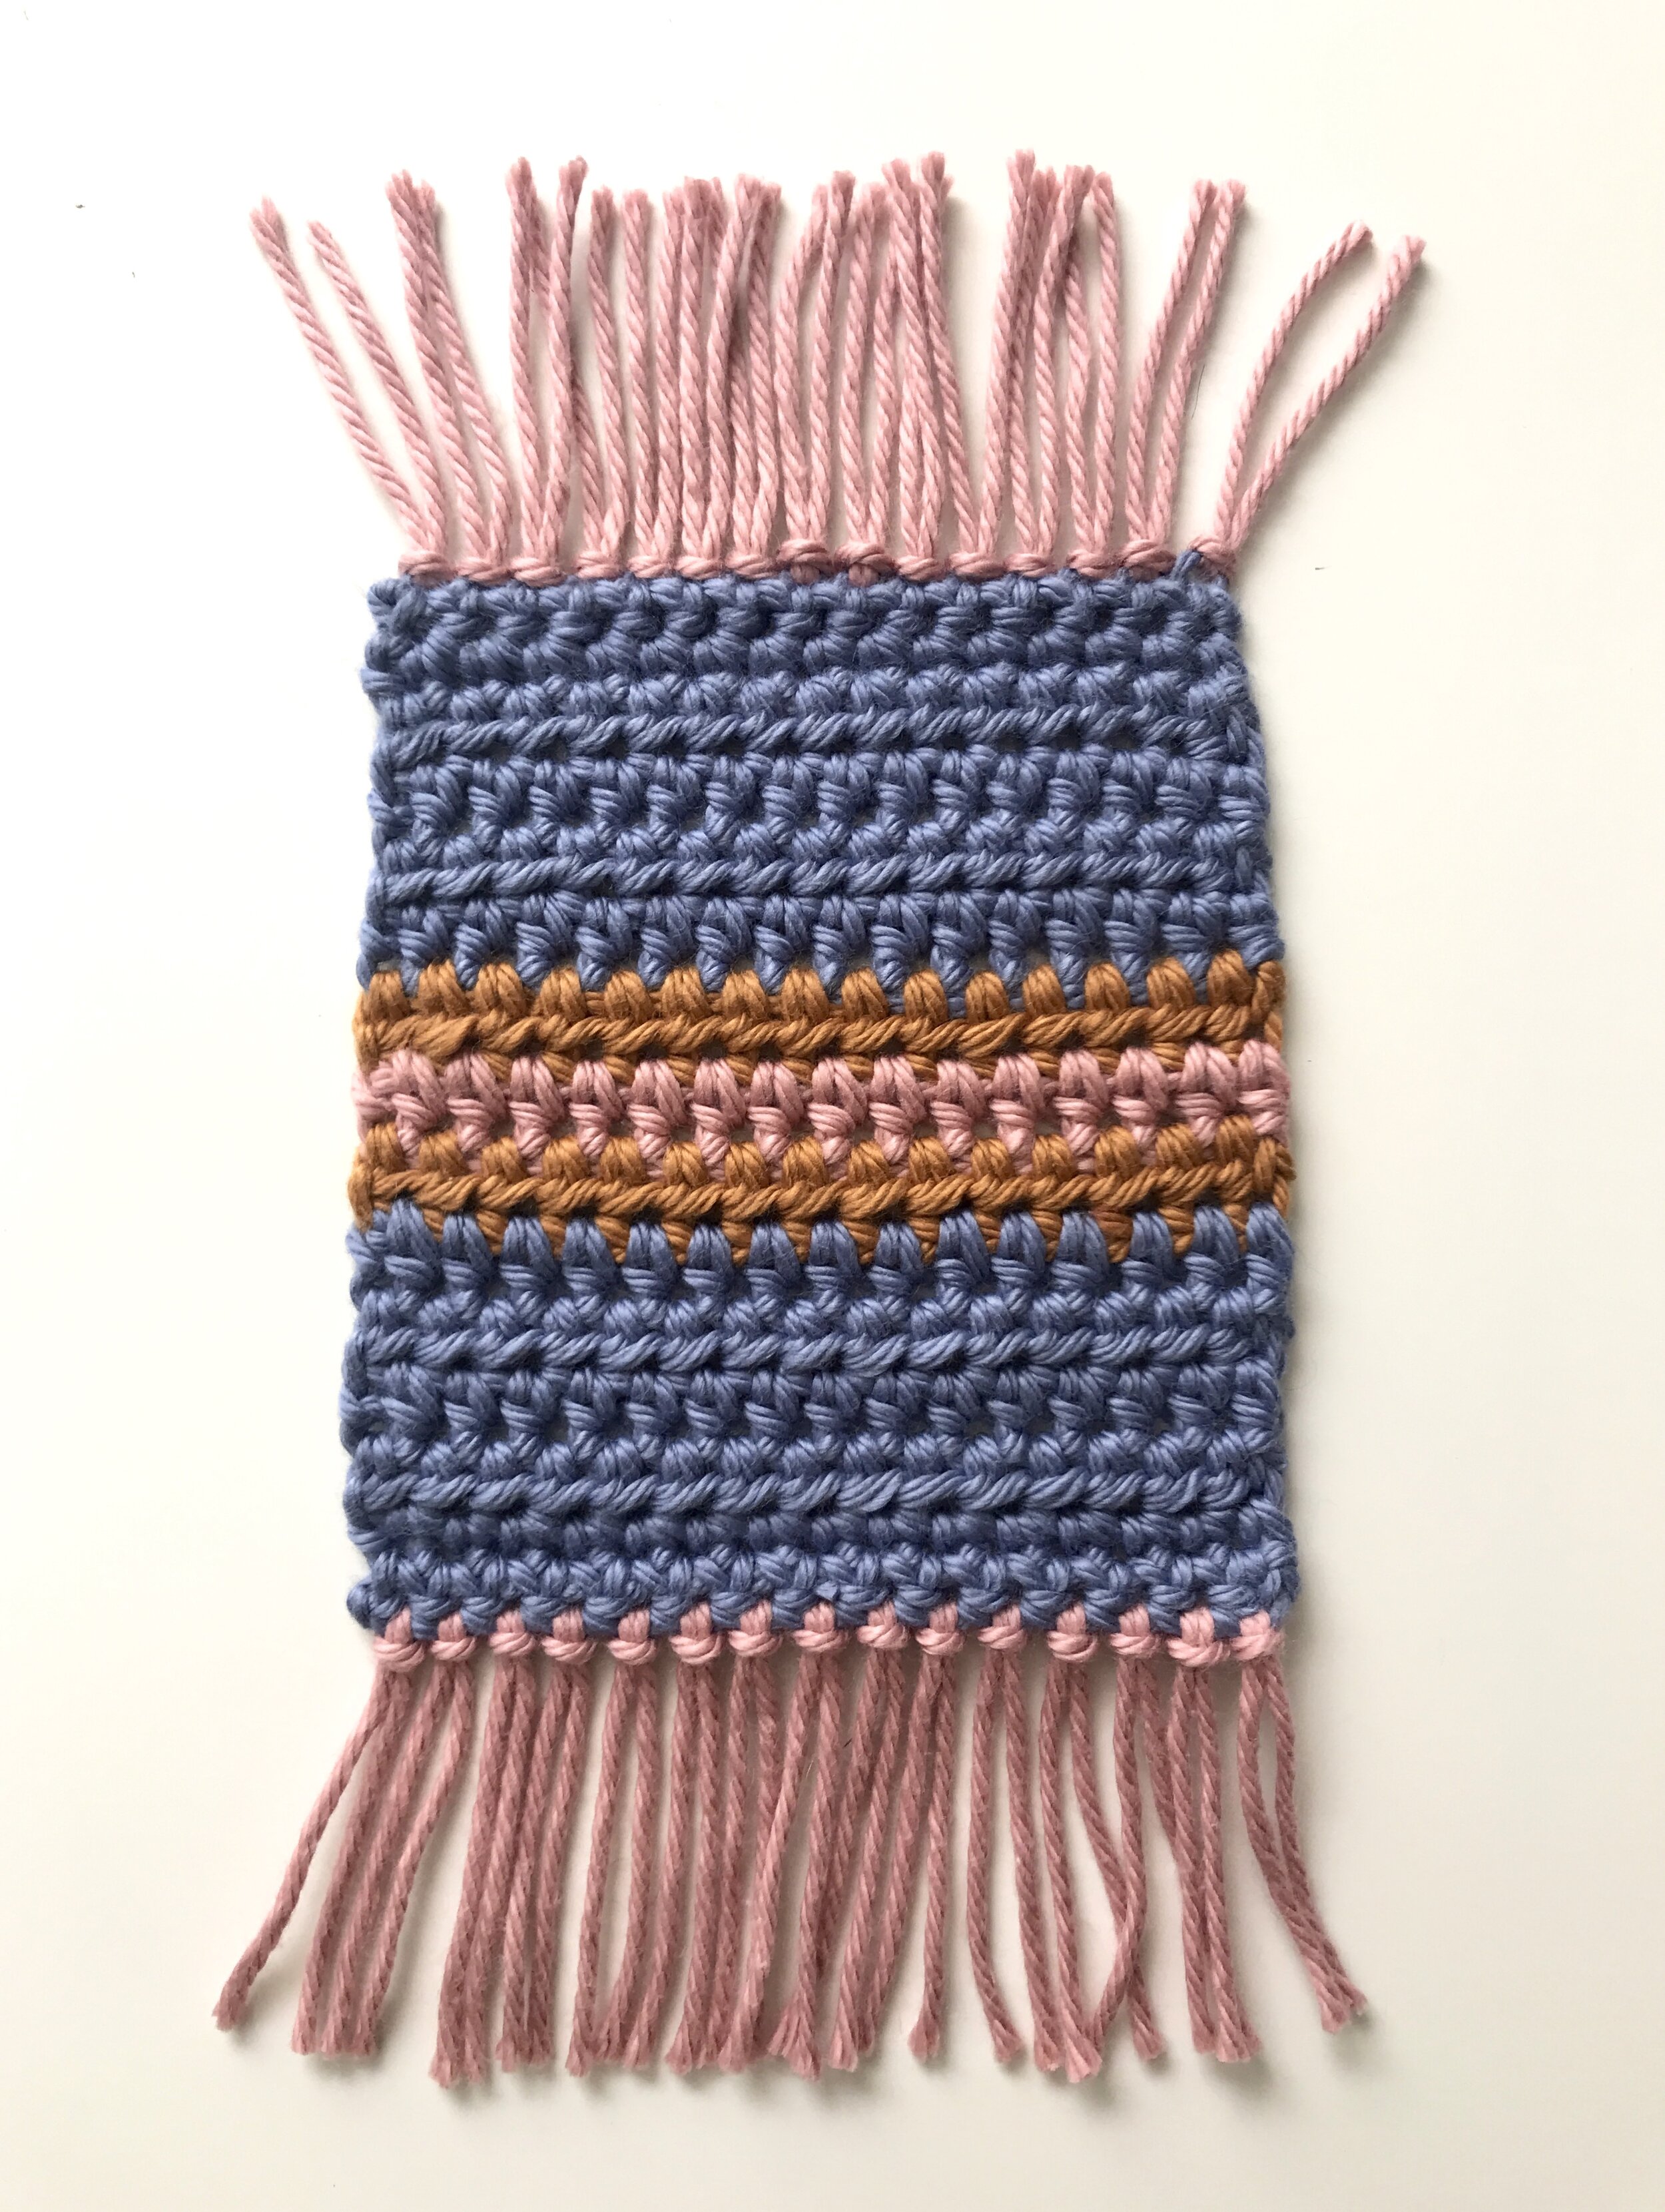
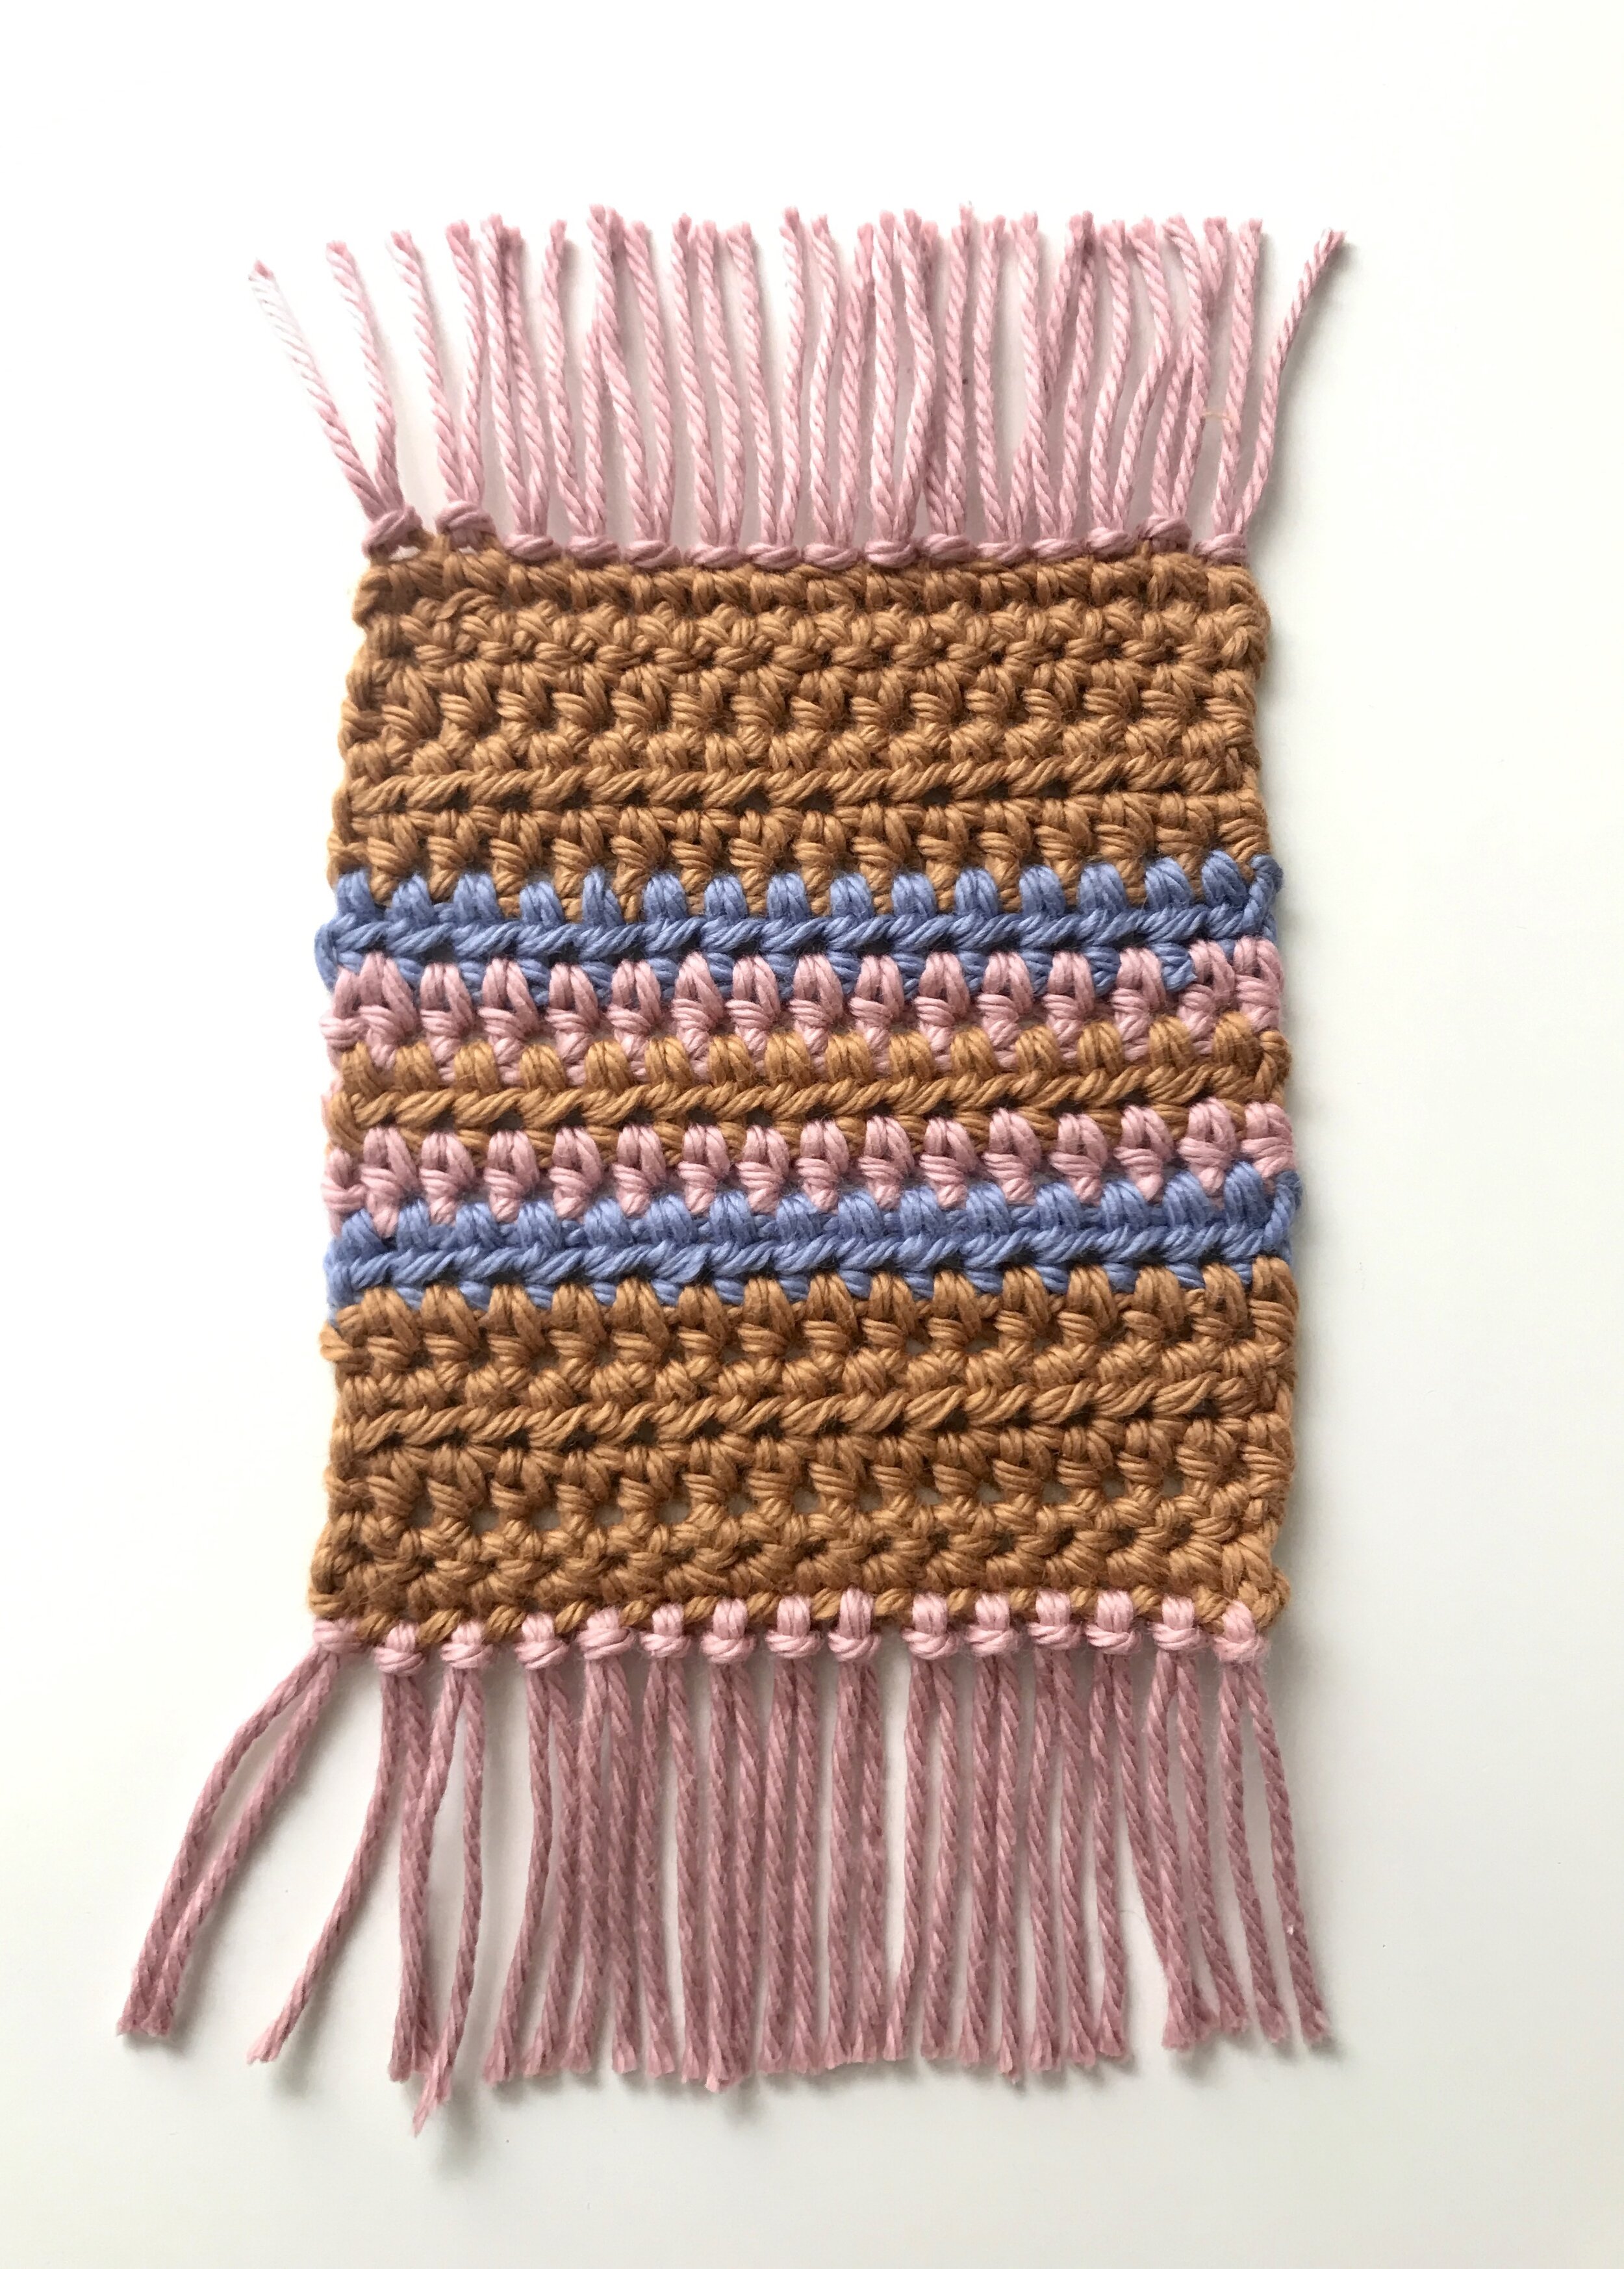
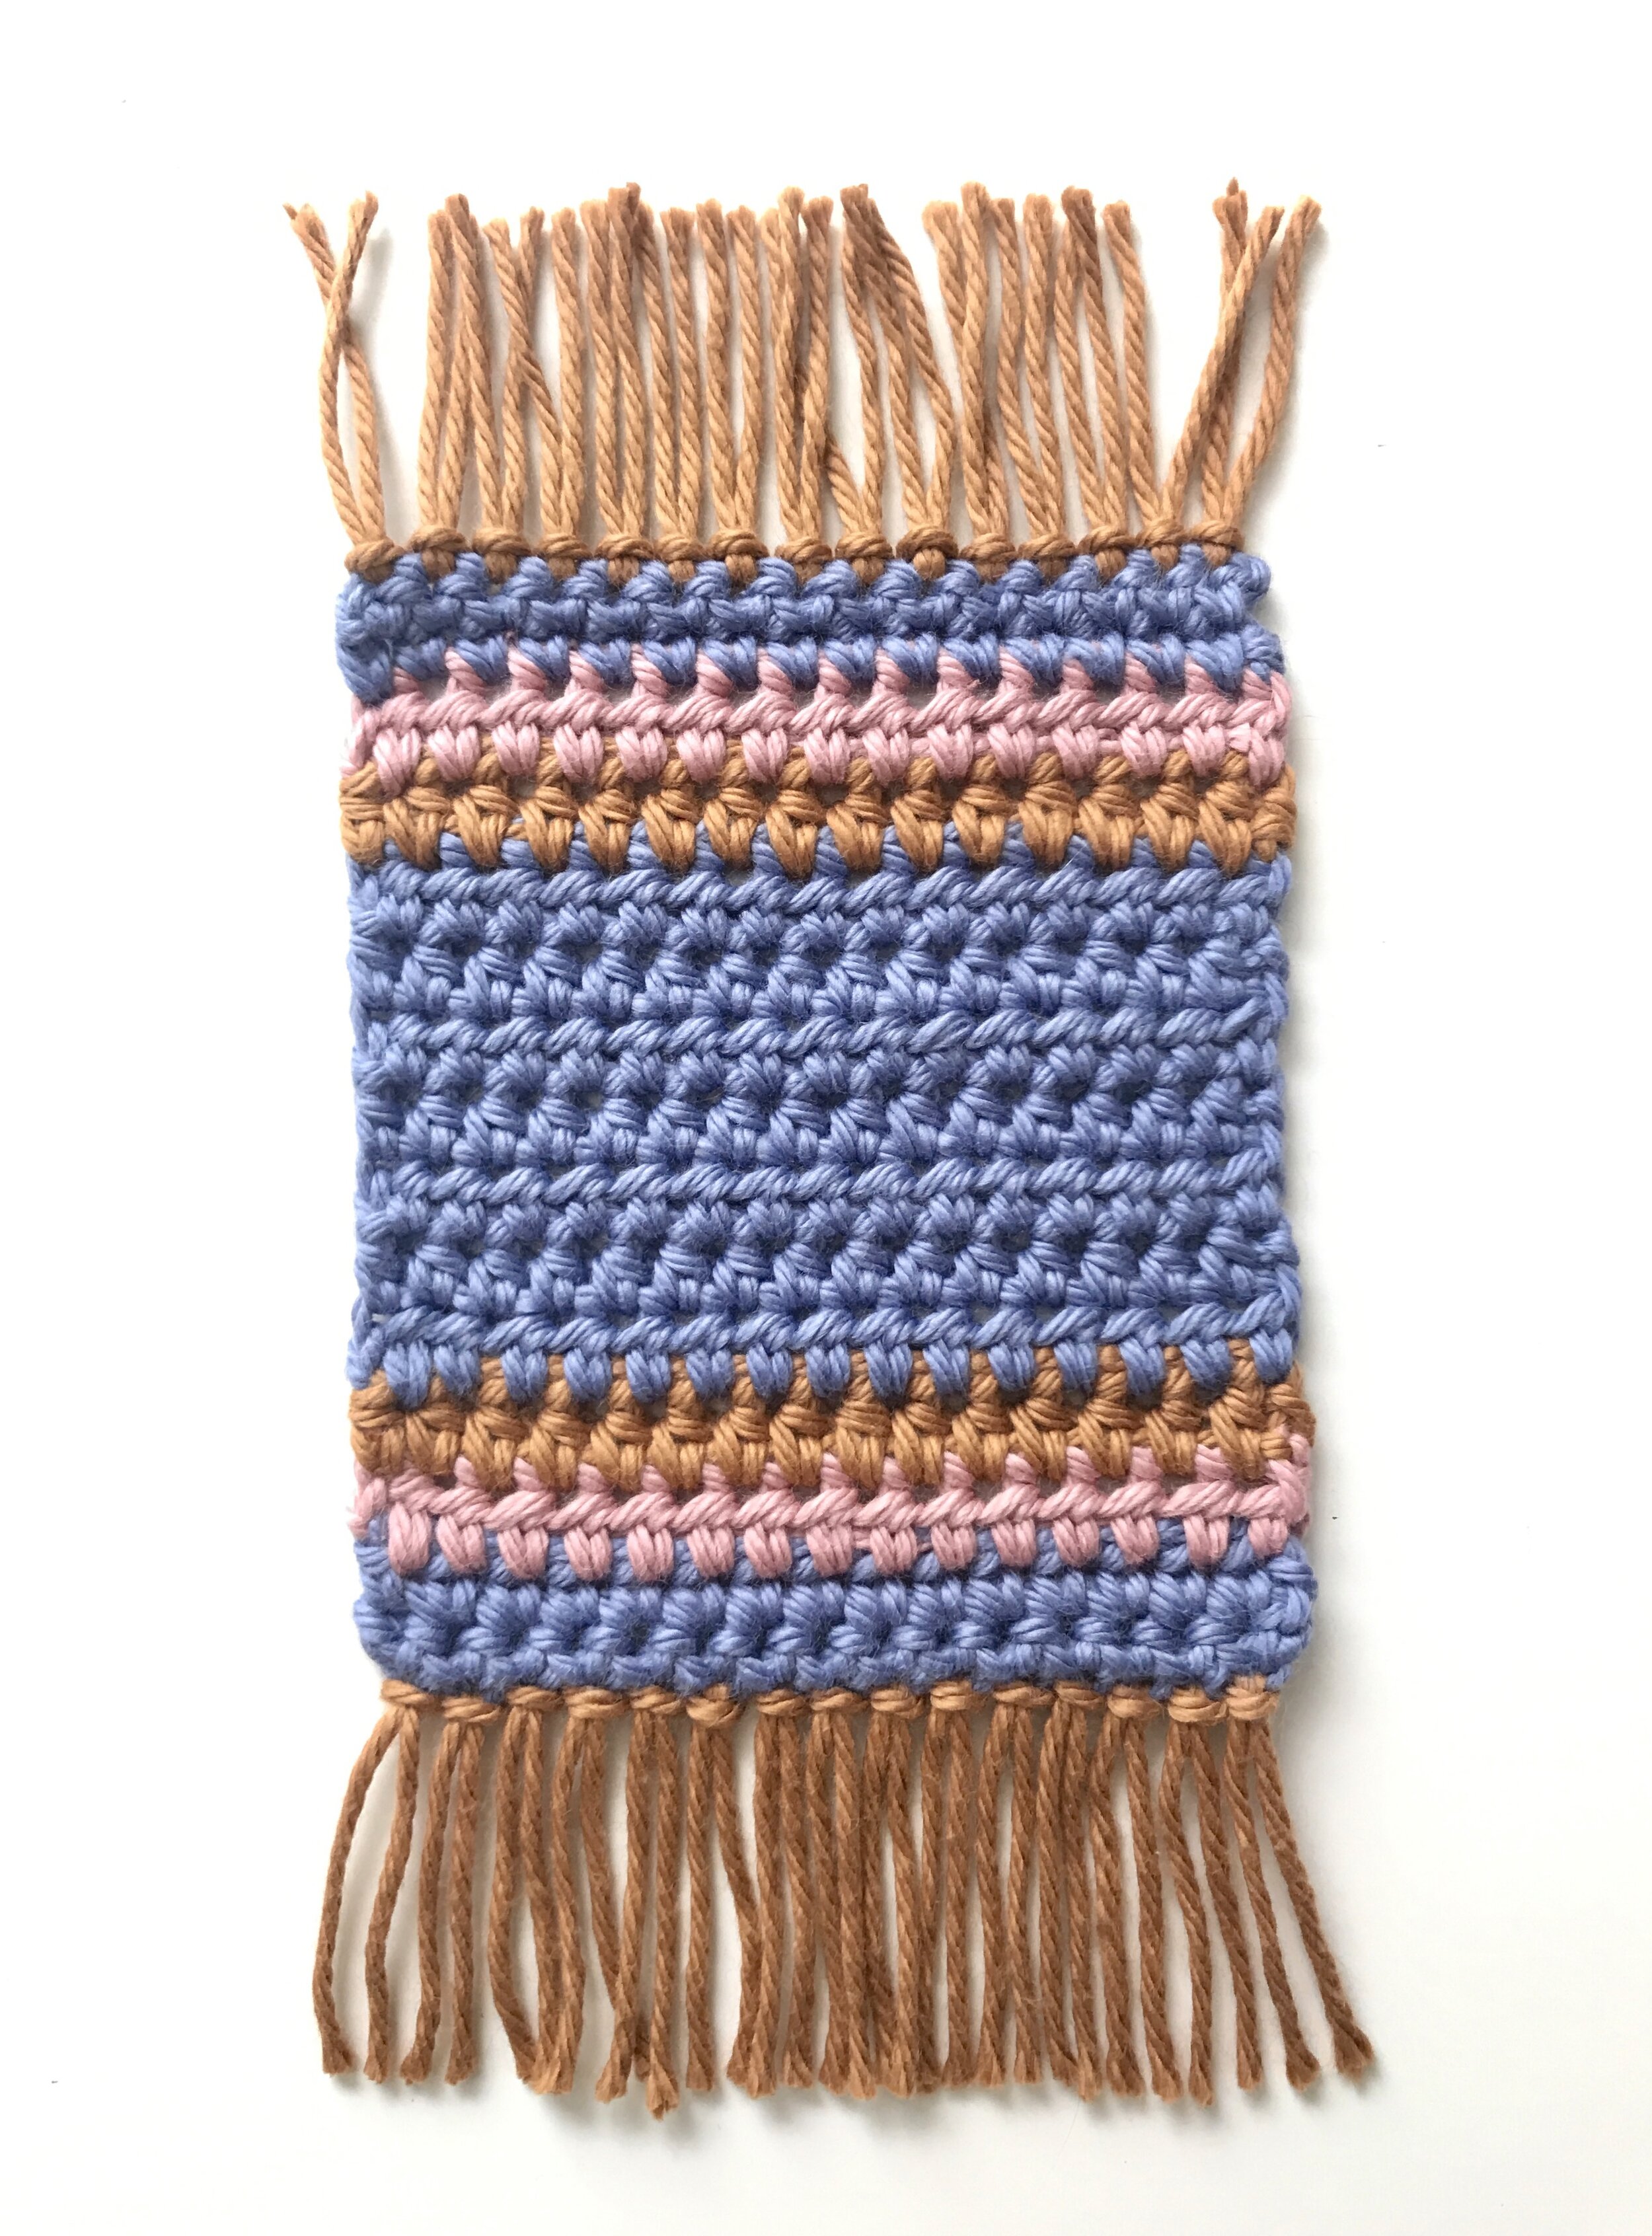
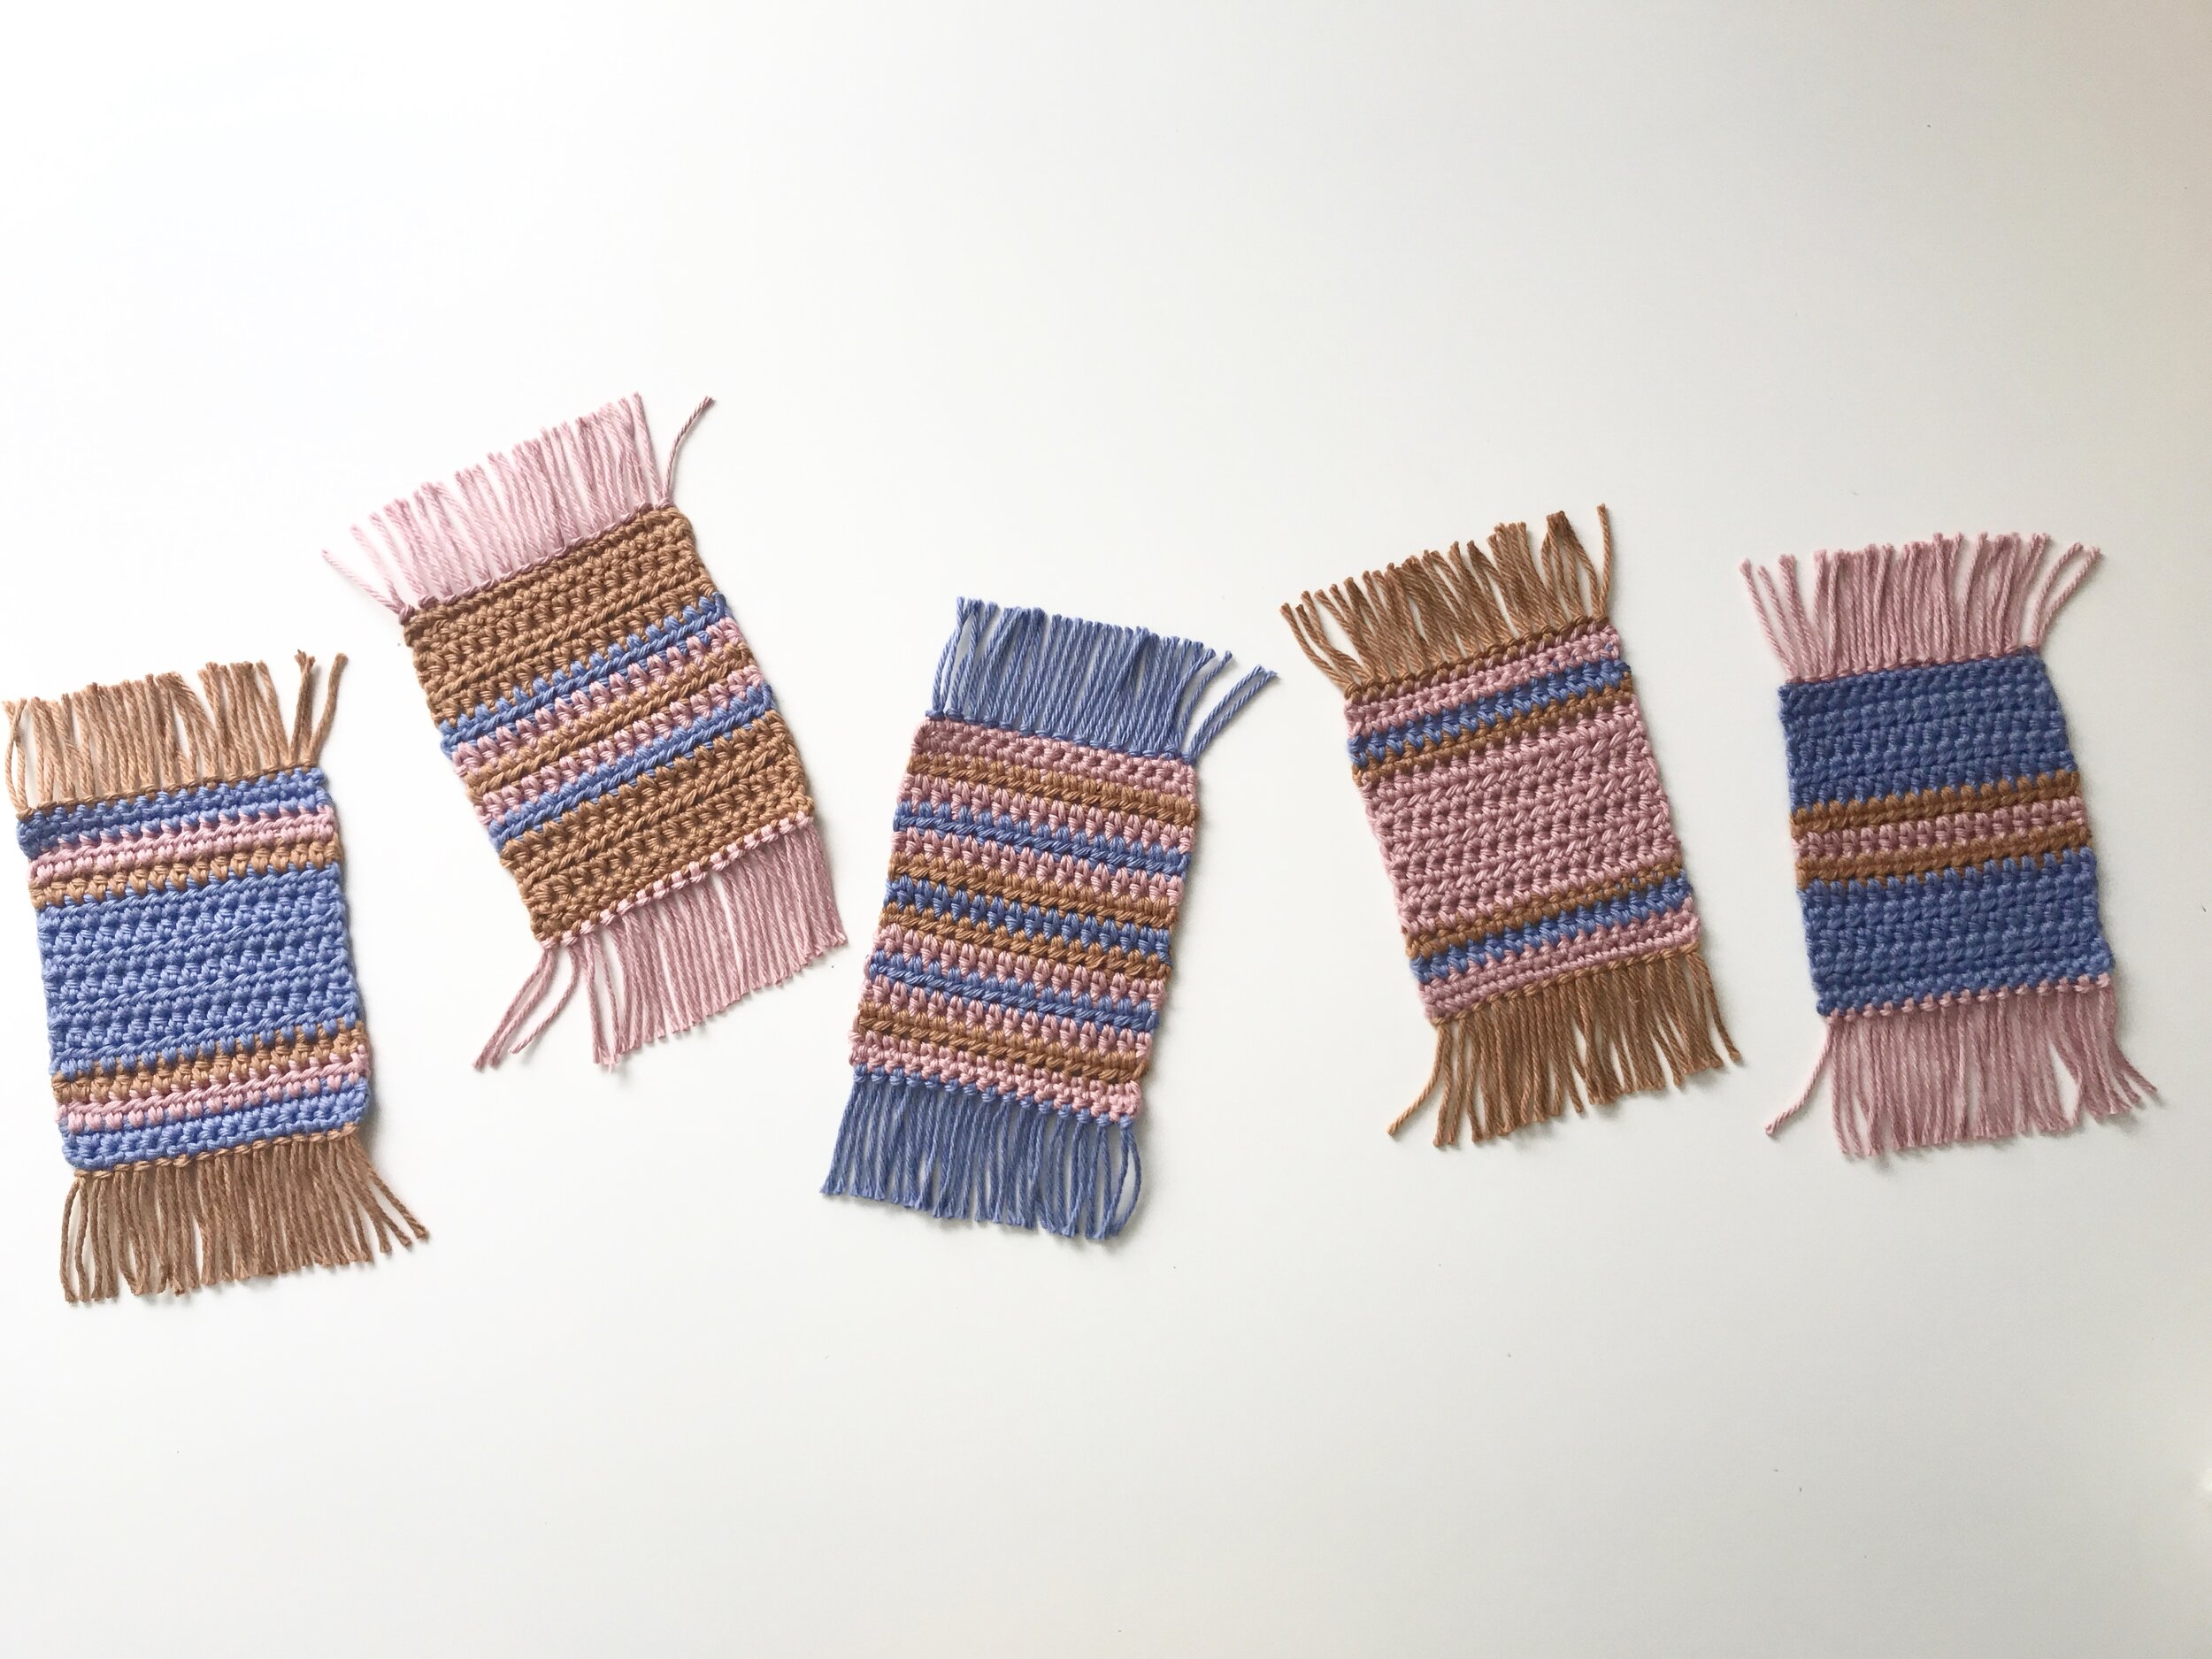
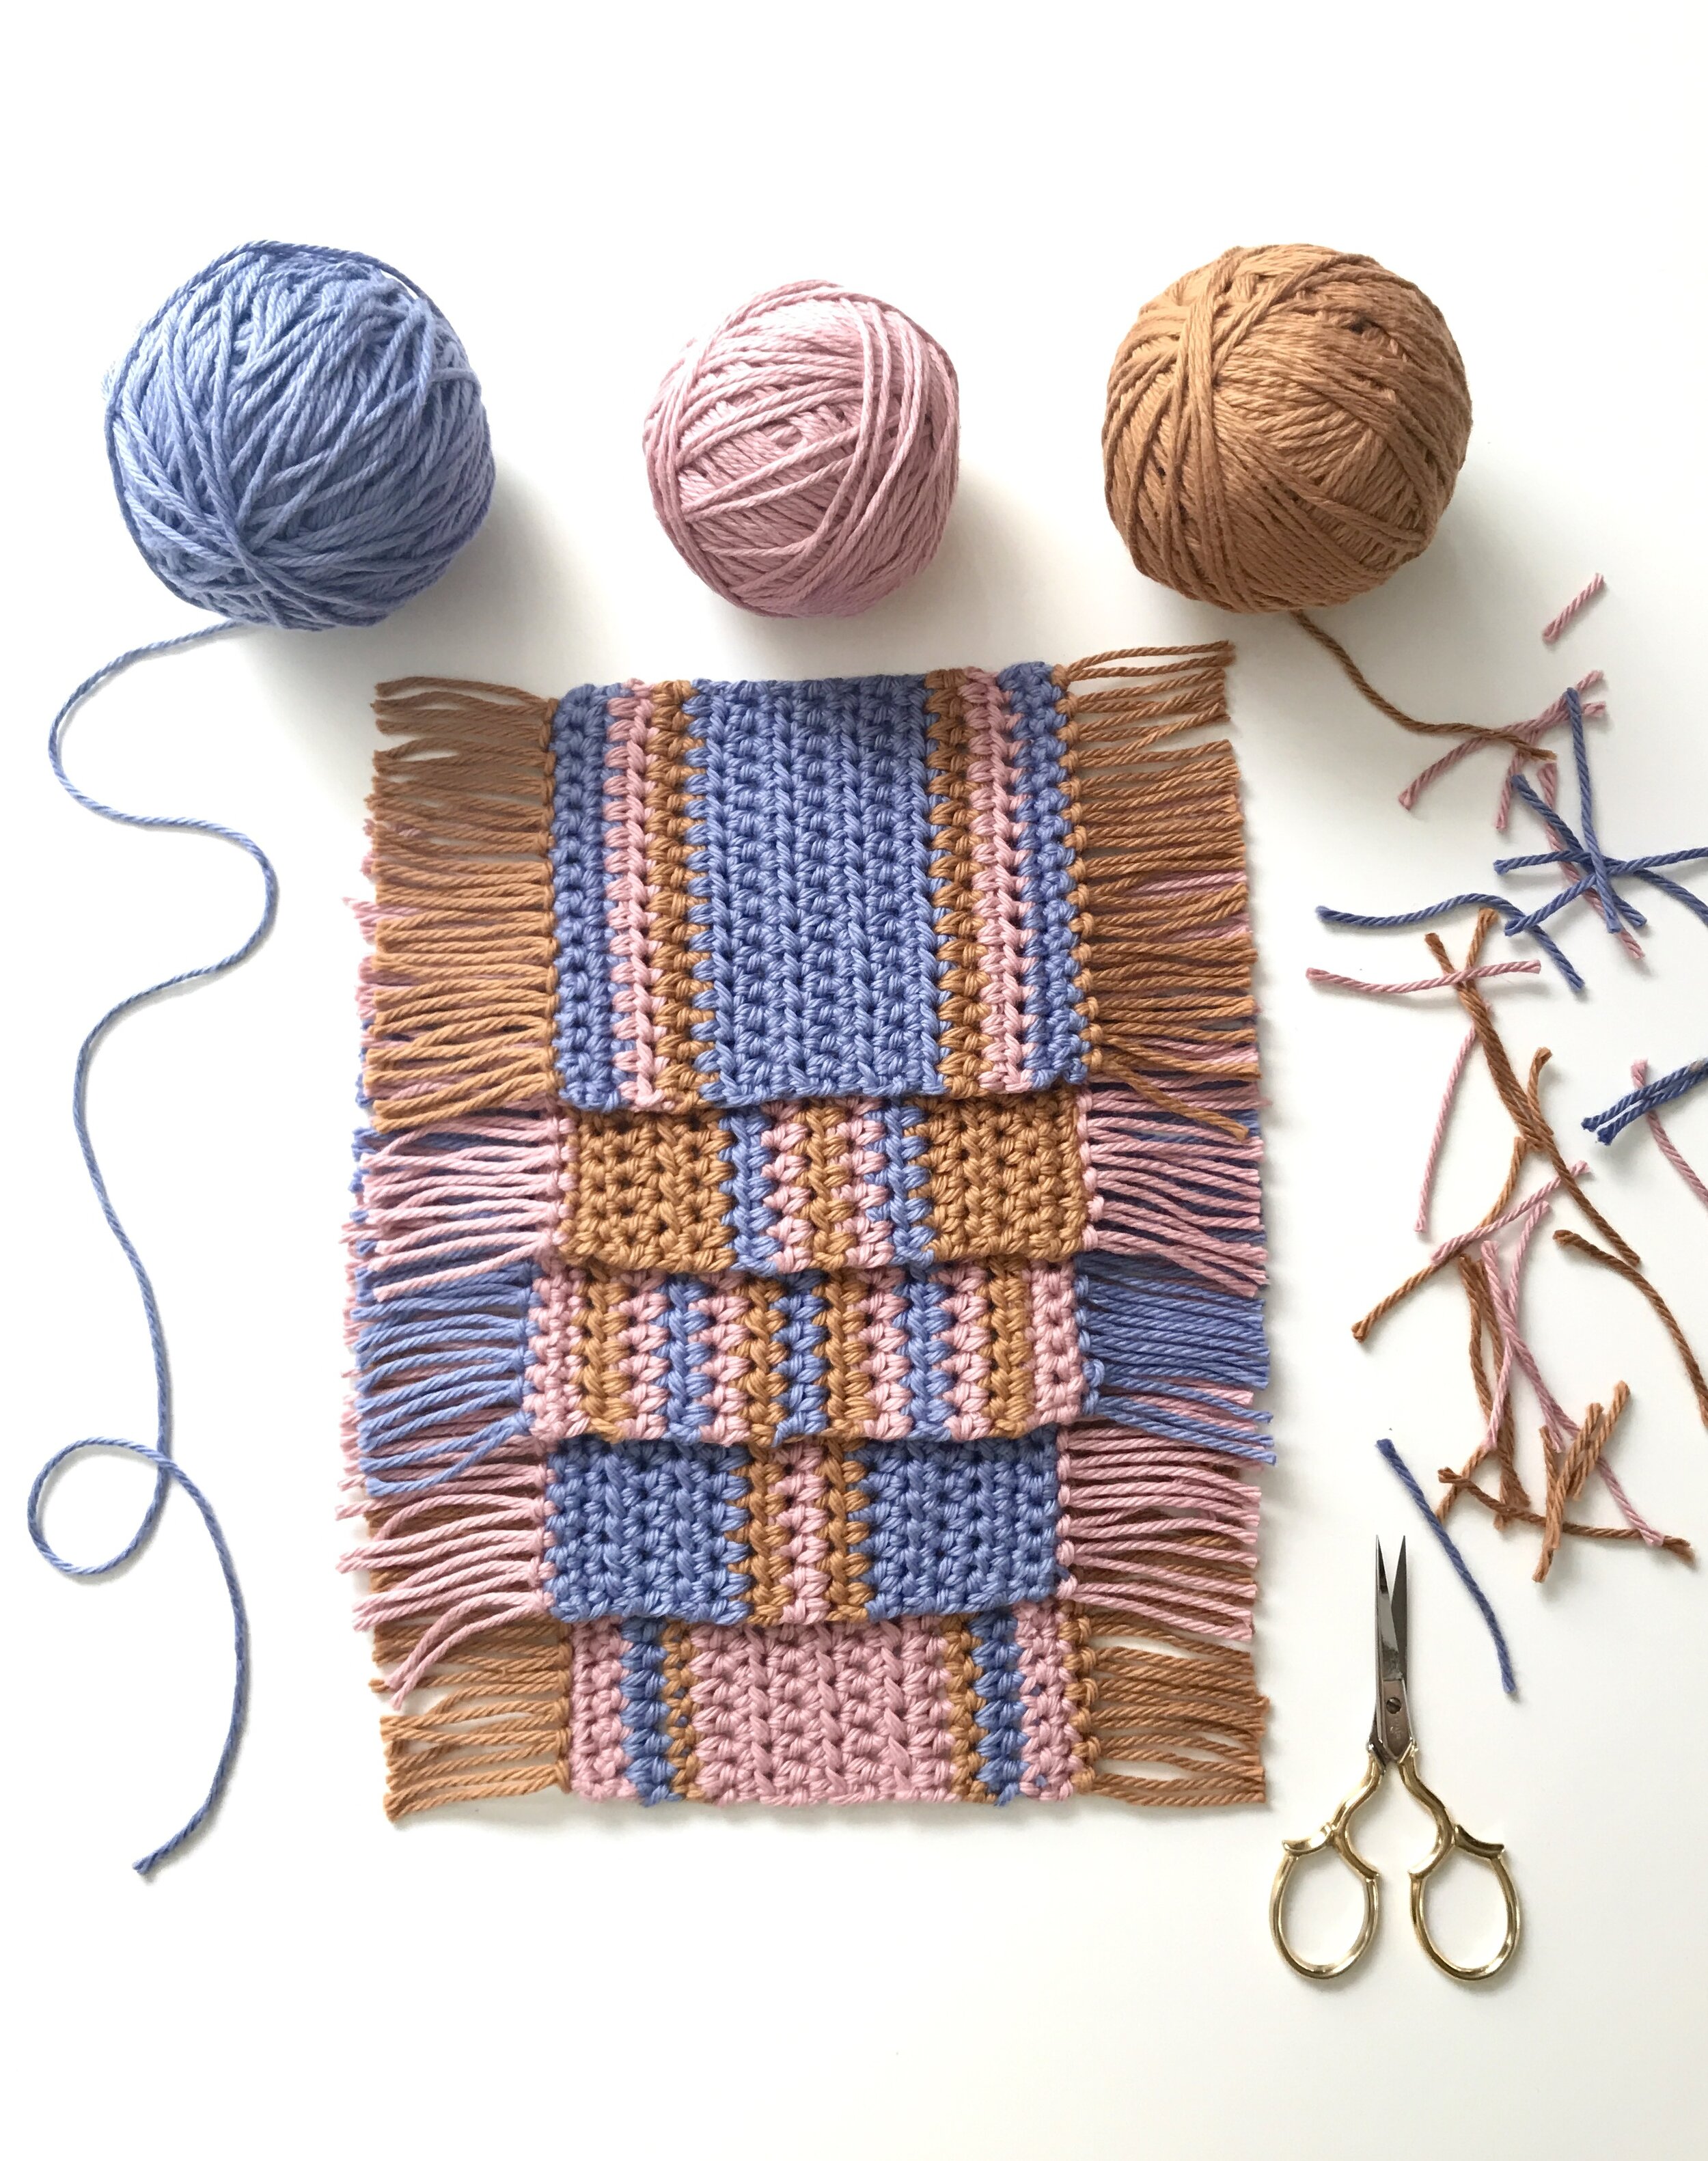
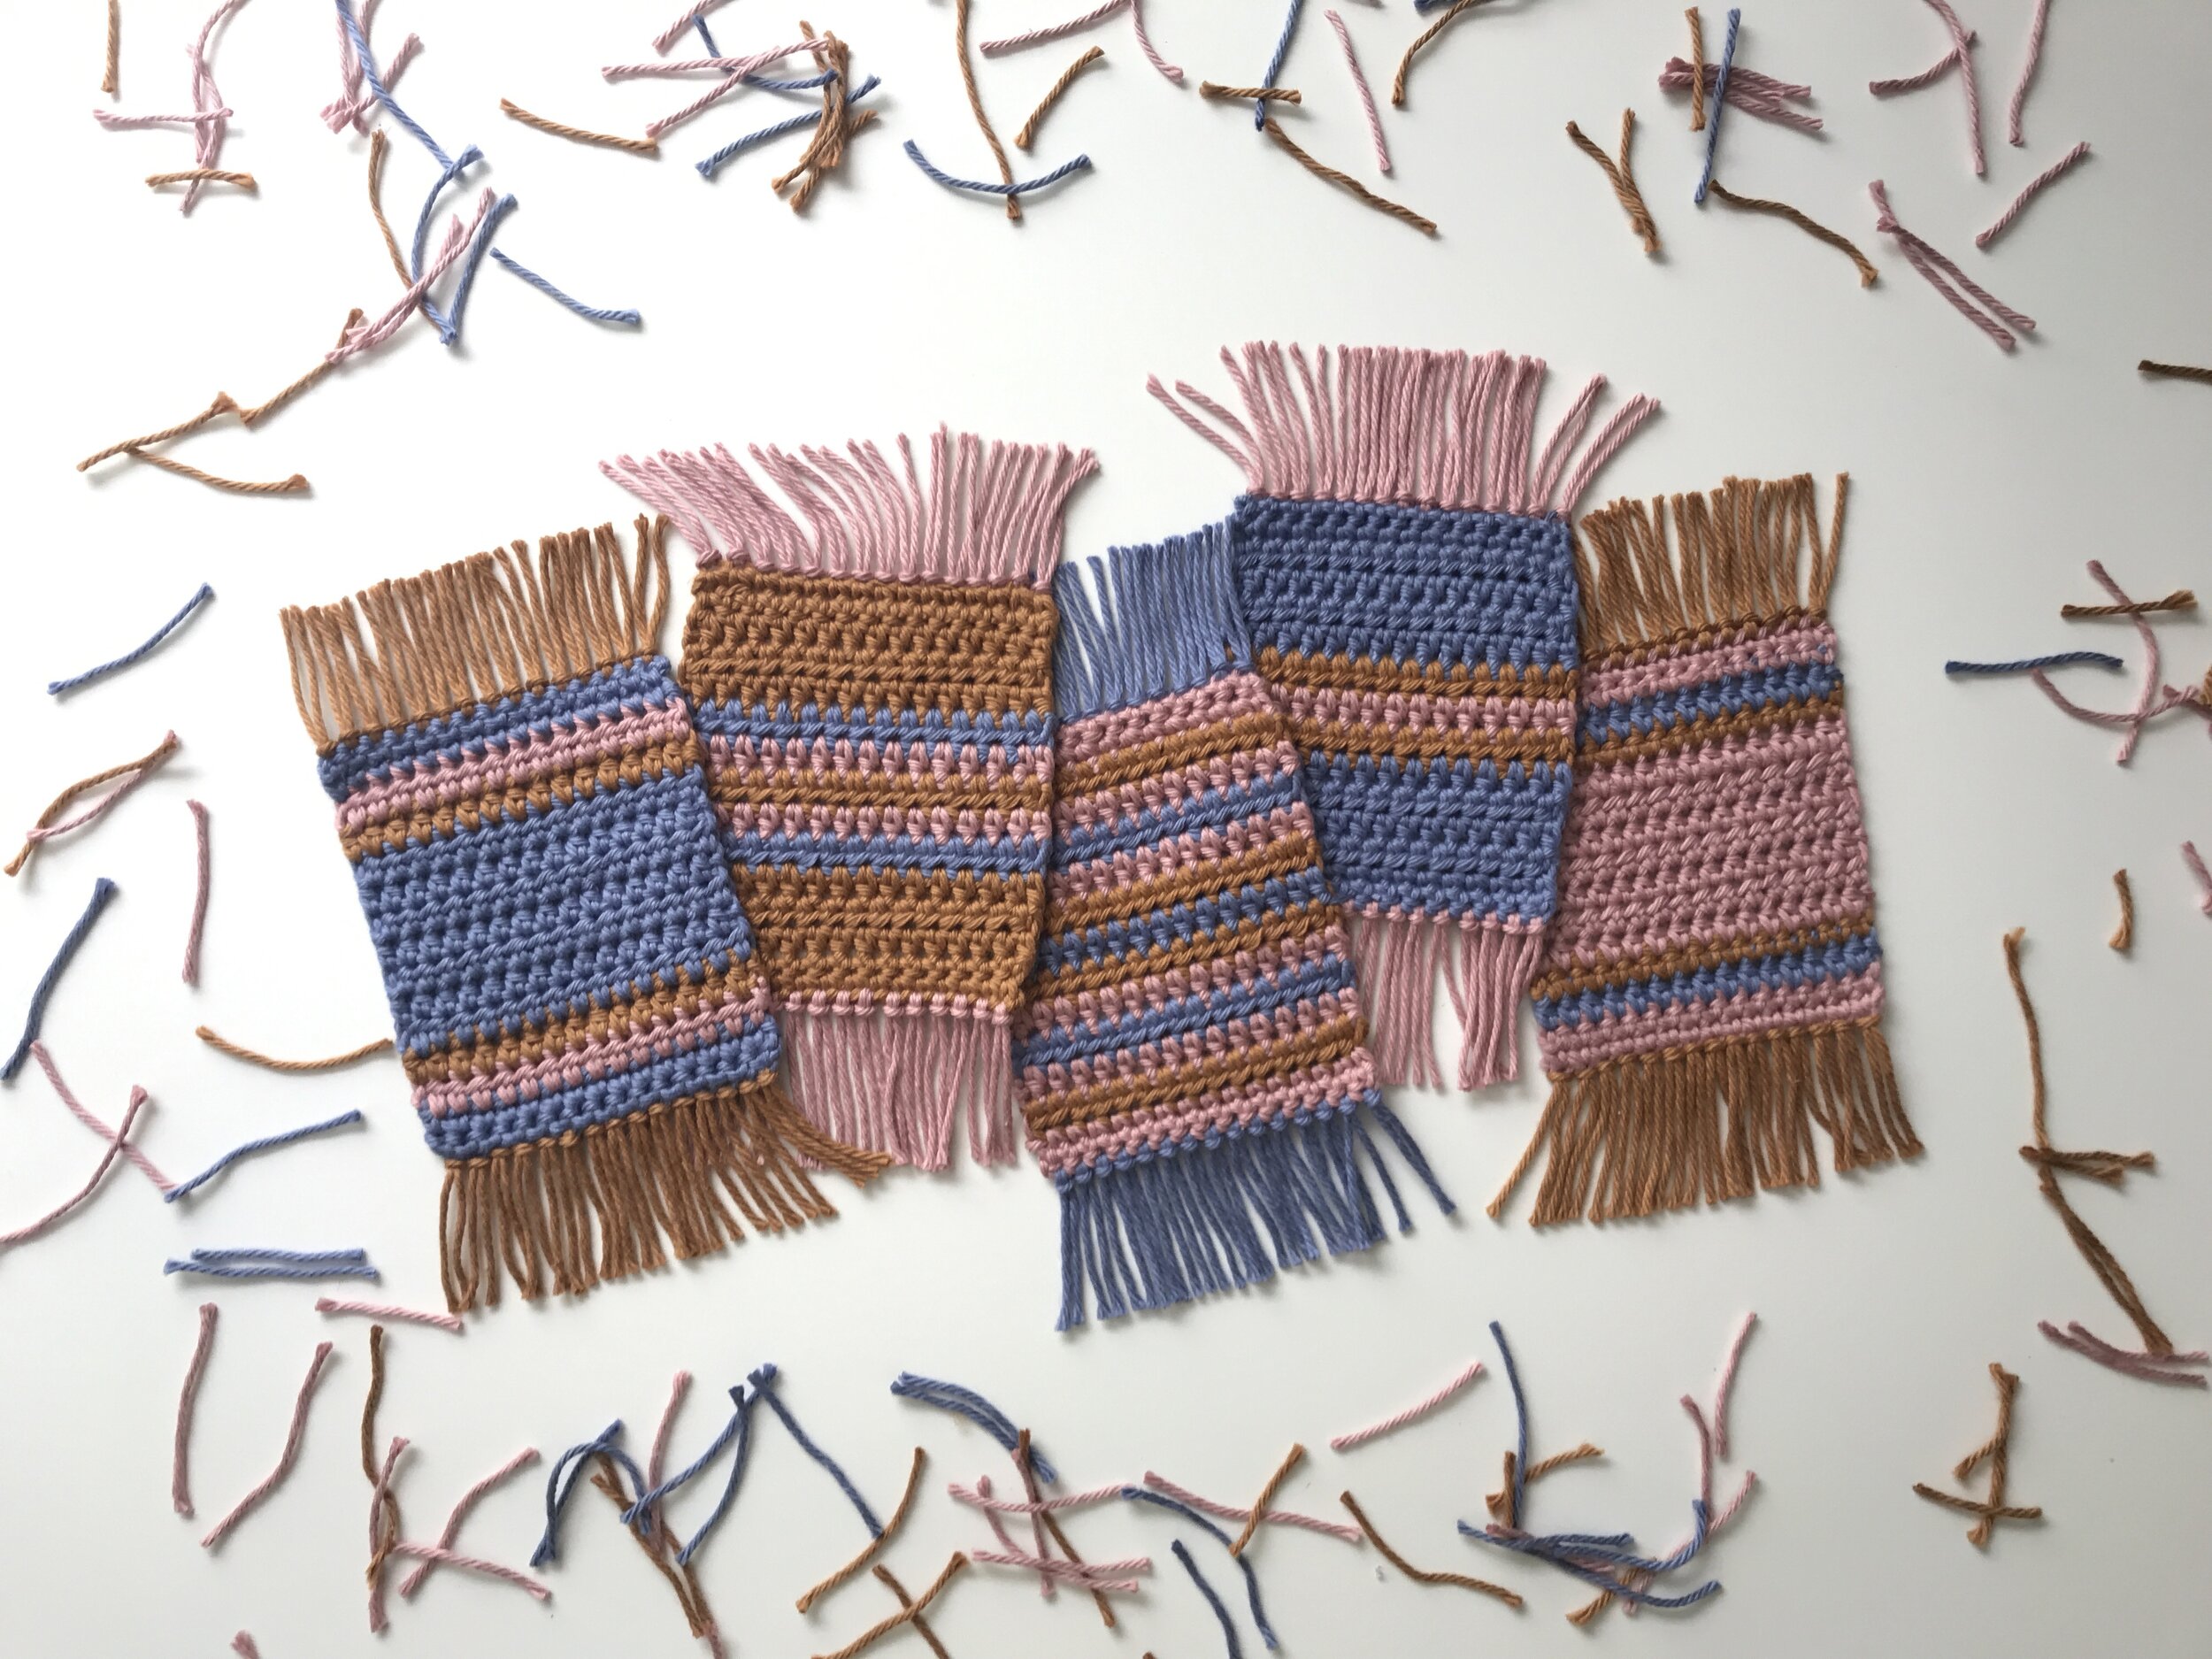
This is a super basic crochet pattern that relies on the fun color striping for its funky flair. I have suggested five different color patterns for you to try out, but I encourage you to mix in your own color ideas, or go with a solid color. Whatever you are feeling in the moment, go with it! It’s your day! It’s your project and it is important to really find joy in watching your project come to life. Why else do it? So have fun and enjoy!
TERMS & ABBREVIATIONS TO KNOW
st stitch
sp space
ch chain
sc single crochet
hdc half double crochet
HOOK SIZE G
YARN: Medium Weight Cotton
(1 -100yd- skein of each: dusty blue, rose, mustard) This project does not use the entire skein of any of the three colors.
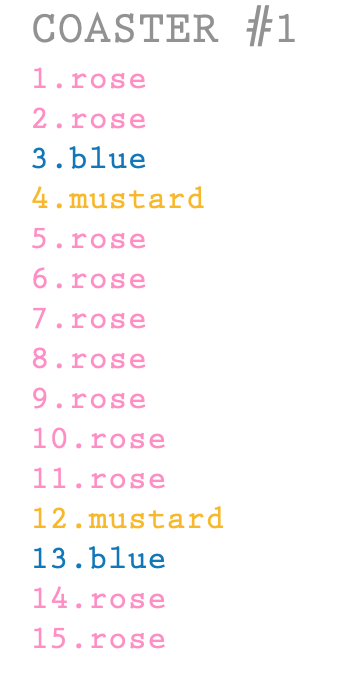
COLOR PATTERN ORDER
PATTERN
Row 1: ch 16. turn. sc in 2nd ch from hook & remaining 14 ch sp. (15 sc)
Row 2: ch 1. turn. sc in same sp & remaining 14 sp across. (15sc)
Rows 3 - 13: ch 1. turn. hdc in same sp & remaining 14 sp across. (15 hdc)
Rows 14 - 15: ch 1. turn. sc in same sp & remaining 14 sp across. (15sc)
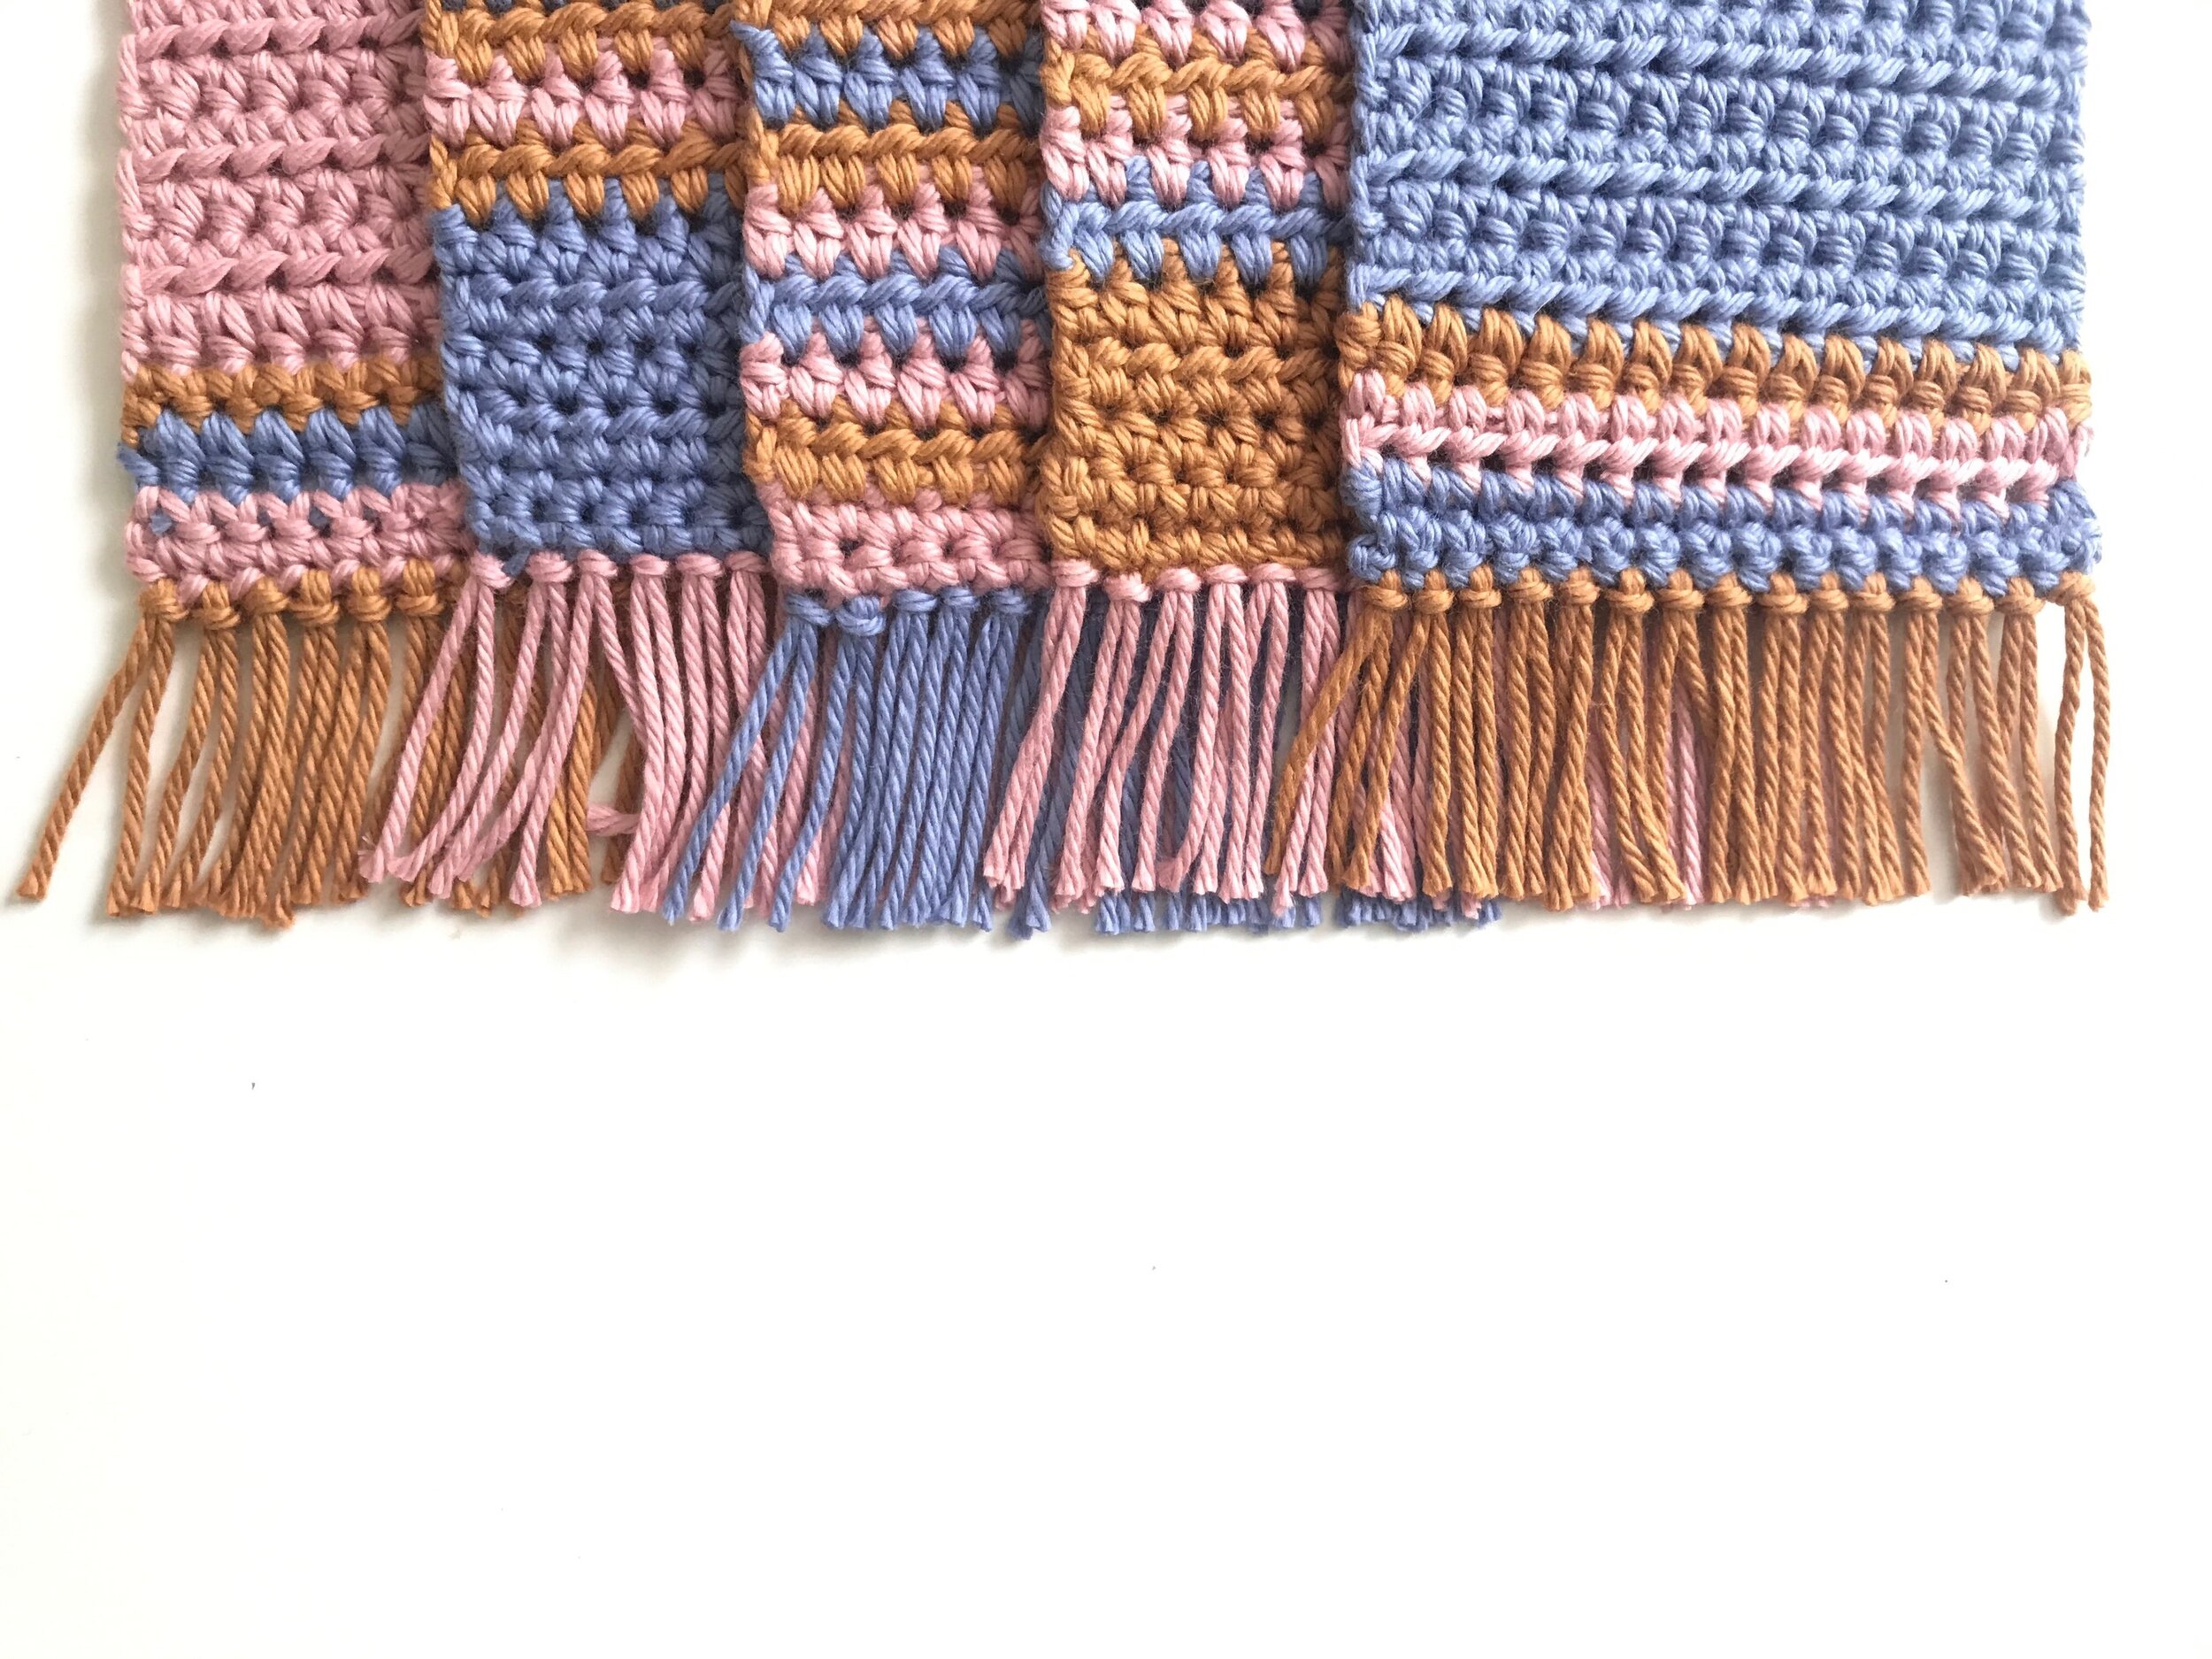
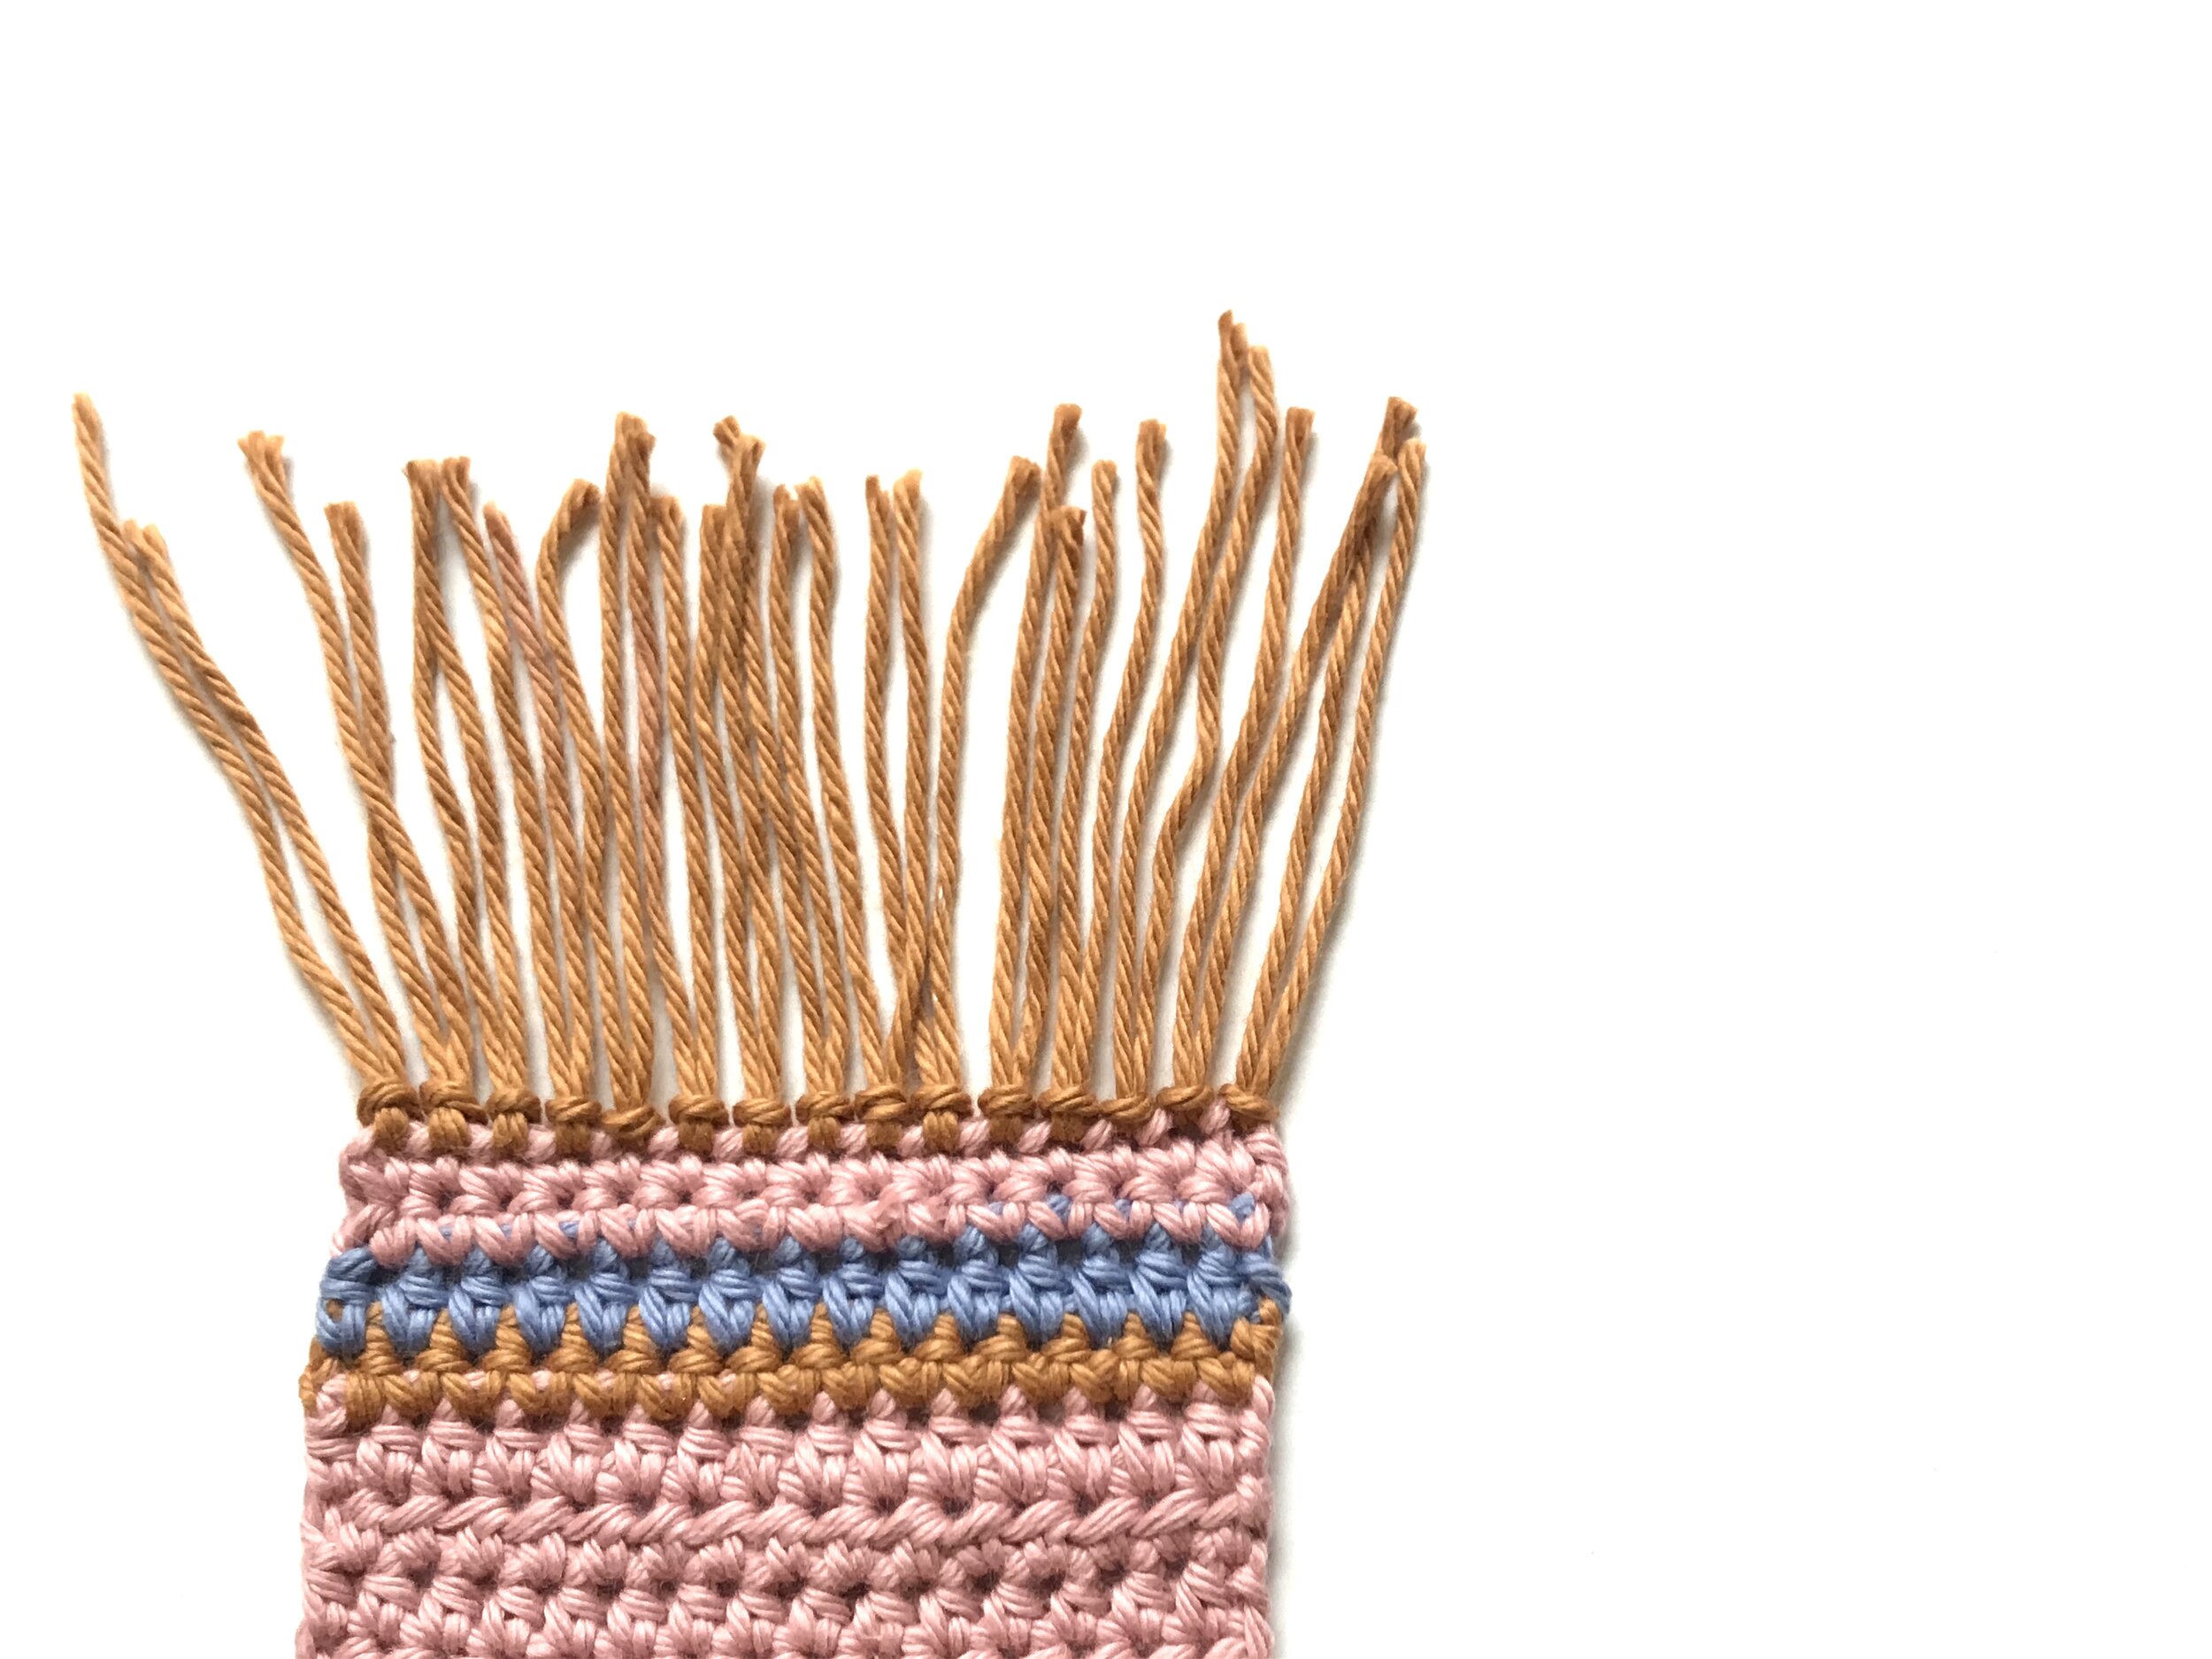
Finish off & add fringe to each end.
Weaving in loose ends
See, I told you it was super simple! If you are not comfortable with switching up yarn colors, I have put together a quick video for you to help you out!
I love seeing photos of your work! Post progress photos and show off your finished project on Instagram & Facebook, tag us @mapleandorange, and use the hashtag #MOstitchesintheworld.
